So this week's topic in my sculpting class is about mold making, that means.... we get to make our on mold for my figures~! So, I decided to make the mold of Mr.Piggy! (Which is the starter figure in from Vance Project, click
here)
The mold wax (the material for making the mold) I'm using is called Smooth-On Mold wax 40, is a type of silicon rubber, really great for mold making and no mold release agent required when removing the object from the mold. (somehow I can't find a good info page about it at this point)
So here we go:
First step, I use Mr.hobby's Casting Block to build up a wall around the parts to pour in the silicone.
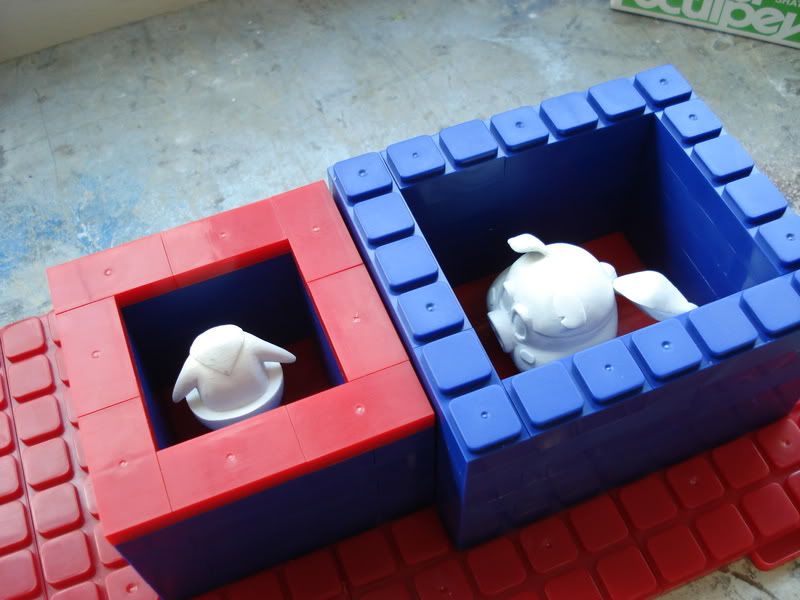
Then mix up the silicone and pour it in, try to pour it from one corner, because it reduces the chances of bubbles building up around the kit. So after pouring, we have:
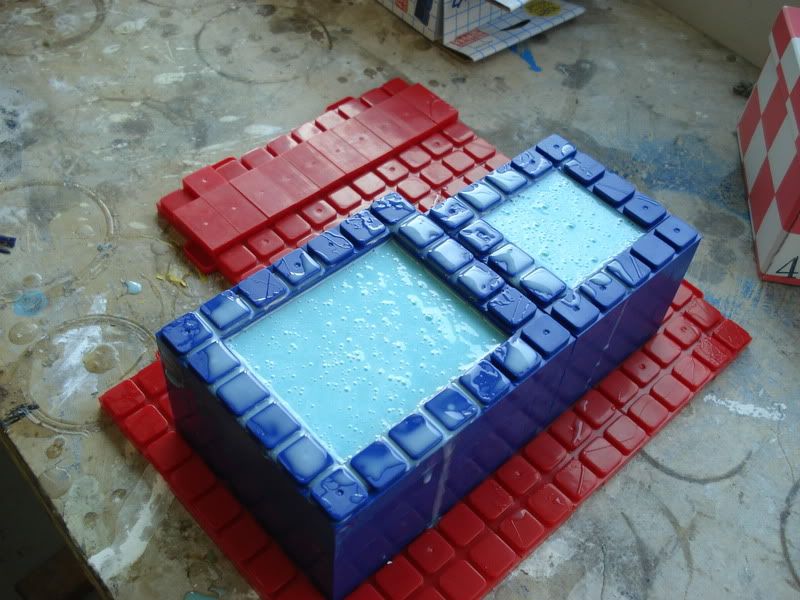
A block filled with silicone, which the parts inside. Note that there are bubbles flowing on top, but that's ok, because is trying to push out the air inside the mold.
And things don't always go right for the first time, same this case. Since I did not stablize the head strong enough, it started to flow while pouring...(half of the head was above the mold... looks like a man diving... with half of his head above the water) so we had to push the head down every time it starts to flow... until the silicone starts to settle.
So after 16 hours, the mold is fully dried. And guess what, the head didn't pop out!

By removing the blocks, I got...
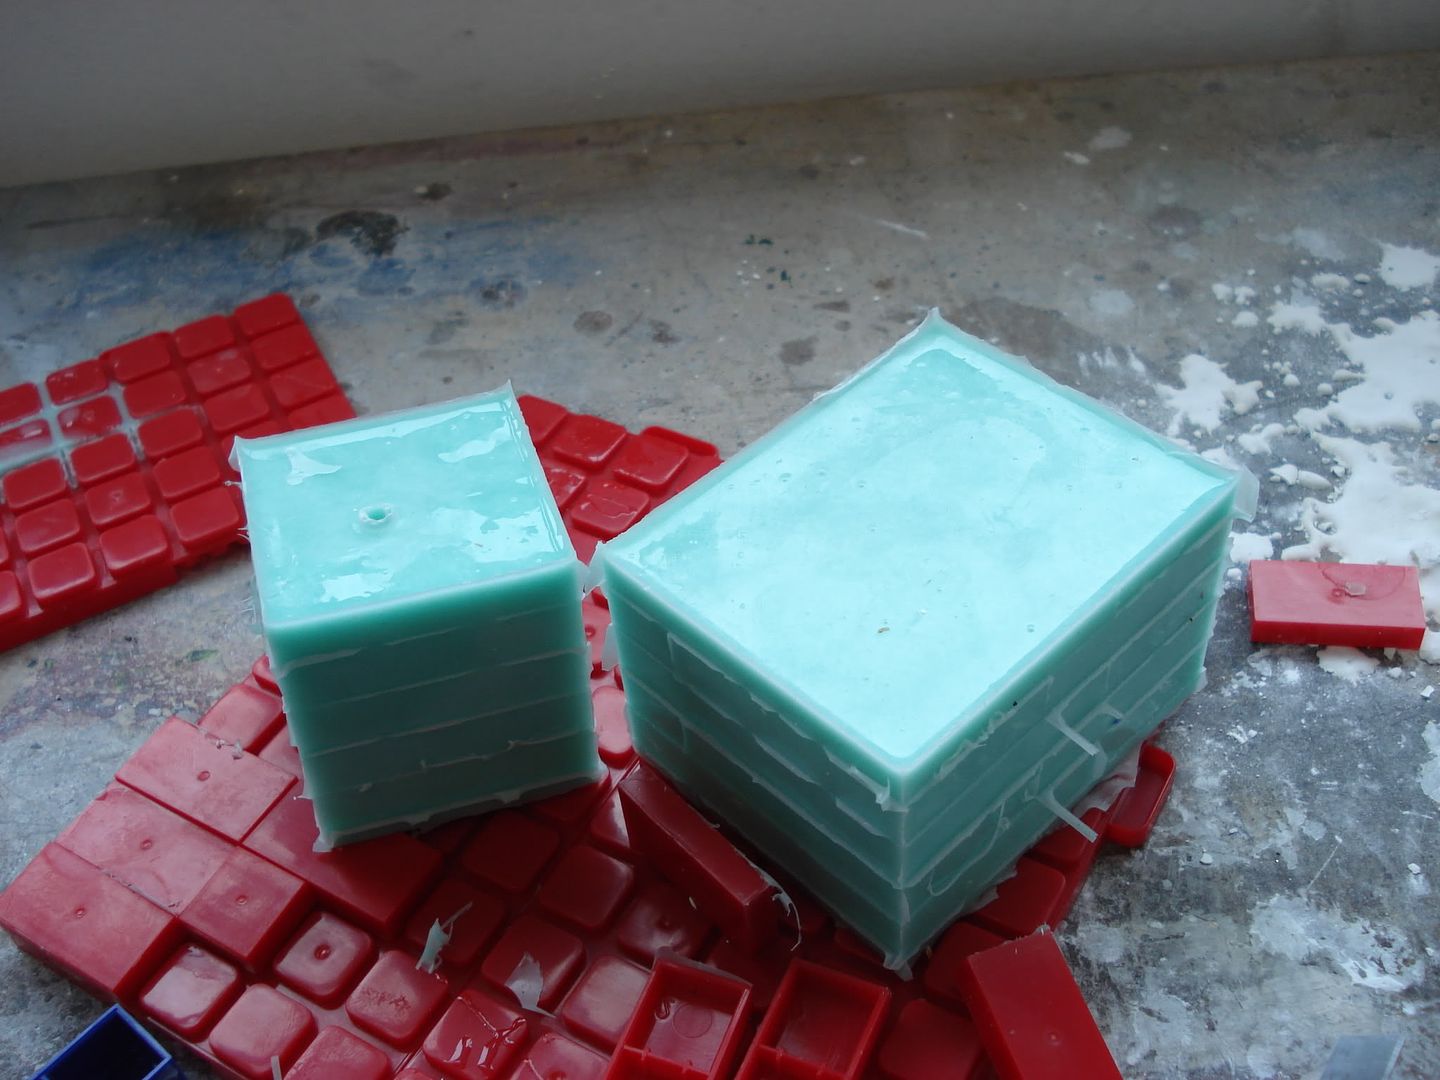
A mold!
However, since the kind of mold I'm making only opens on one side, (so that it reduces the seam line while casting) it was pretty hard for me to take it out without breaking the parts. So this is what happened...
A mold:
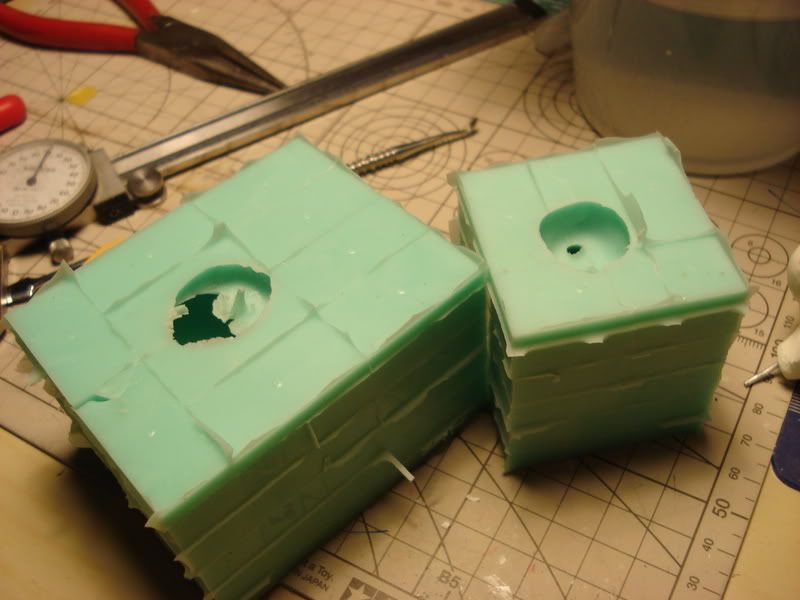
With broken Mr.Piggy XD:
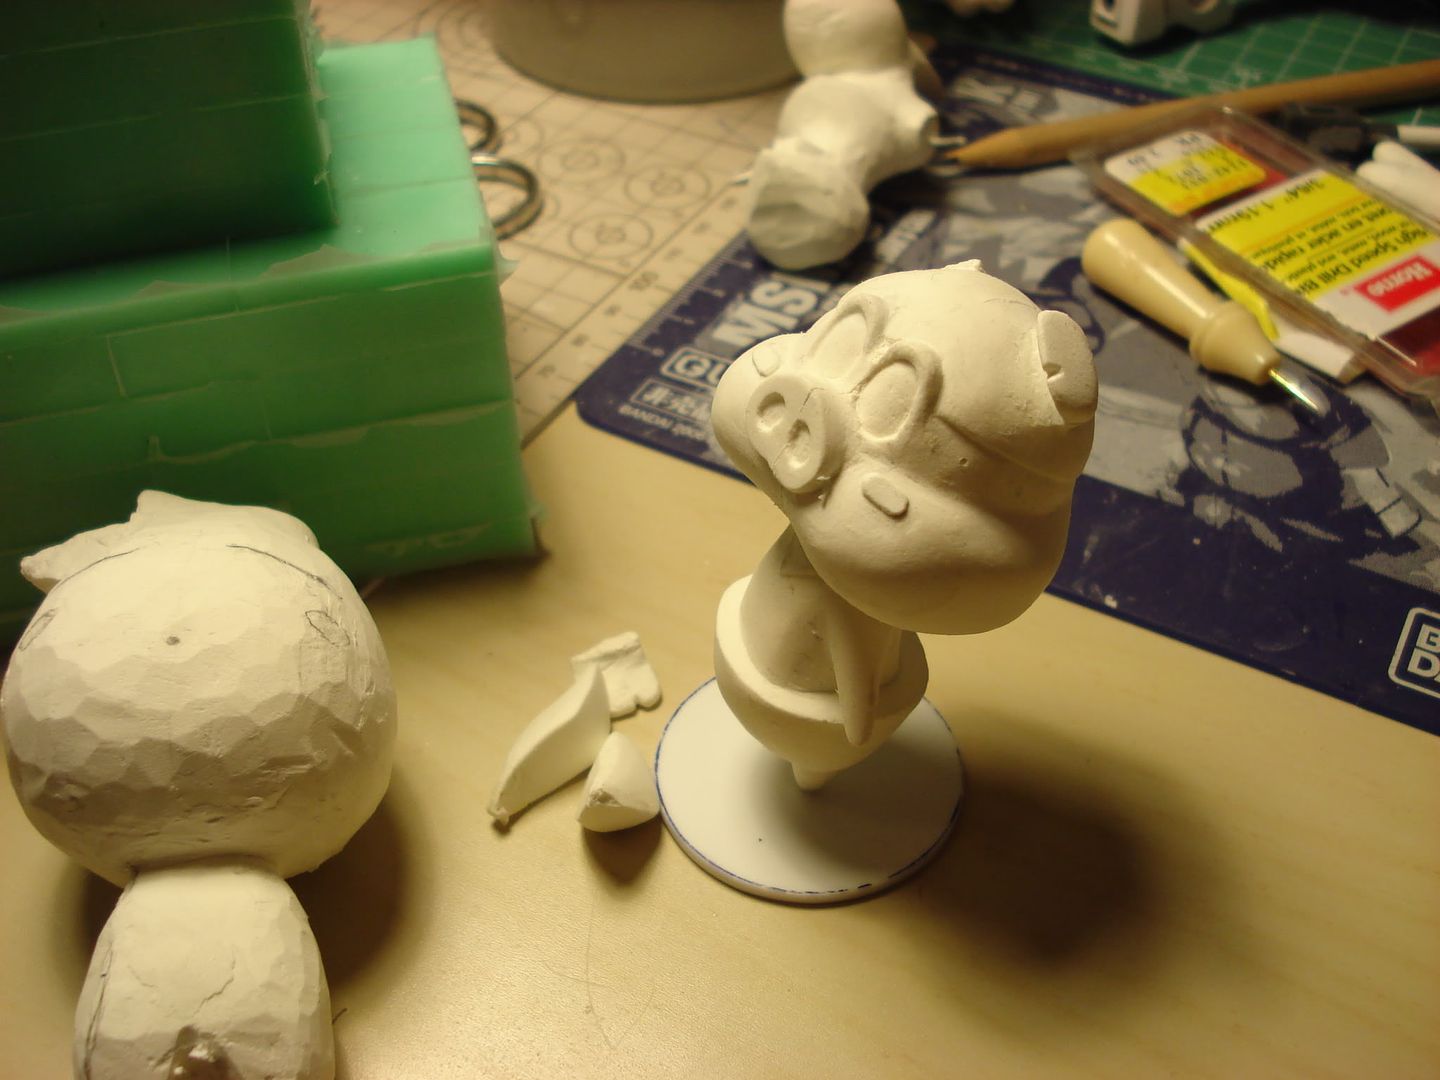
Which is not that bad, considering the fact that is the first time, and the mold turned out to be ok, especially for the body, and the damage is somewhat fixable.
So for next week's class, we will try to pour in resin in to the mold and cast it, hope the over all process will be a success!


