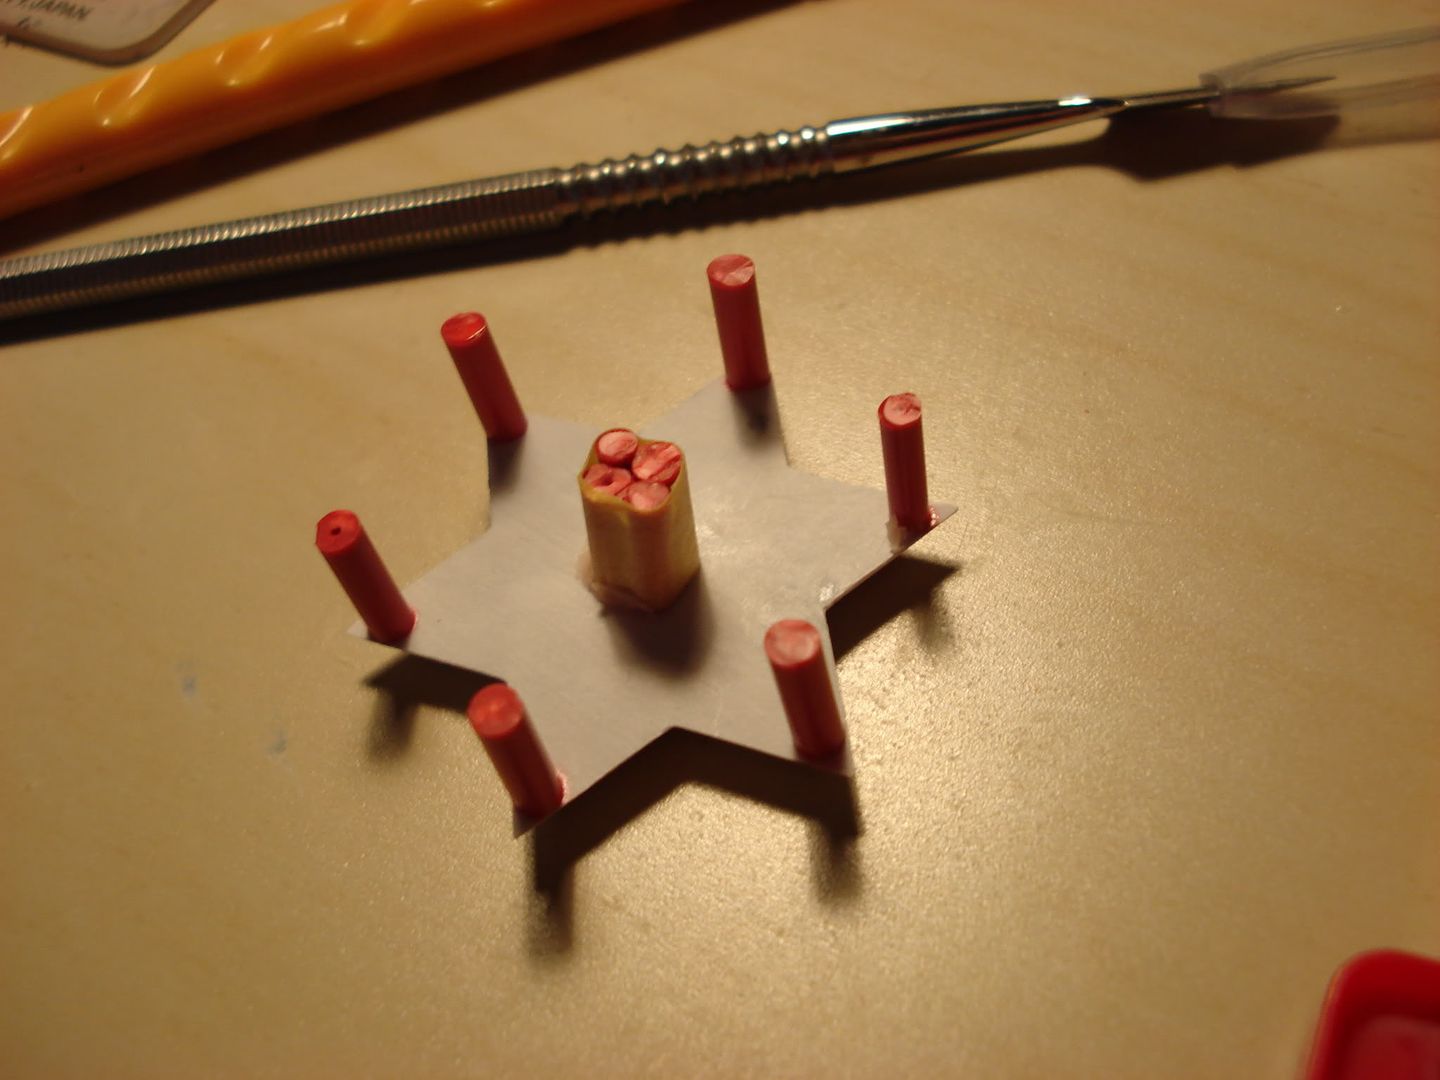
First of all, casting the base:
Added few left over plastic runners to create the pour in spot and spaces for air to escape.
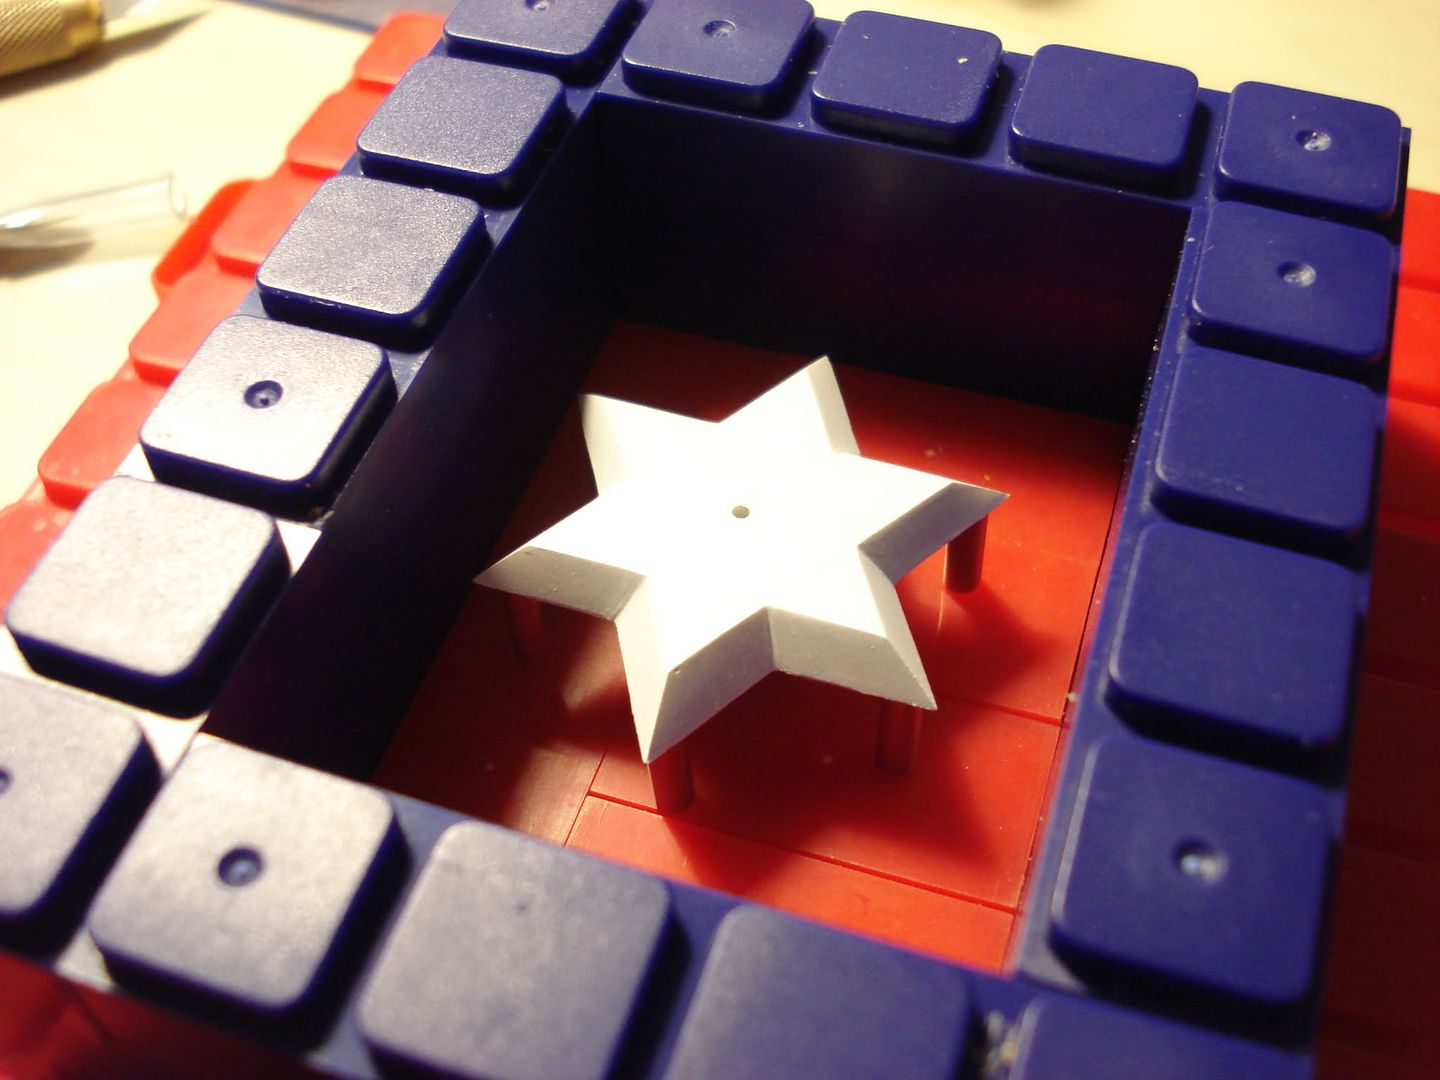
Then, place it inside the casting block, and just pour silicon rubber in to it.
And here is the 3 piggies before the one of them about to get painted =P.
So, here comes the exciting part, painting!
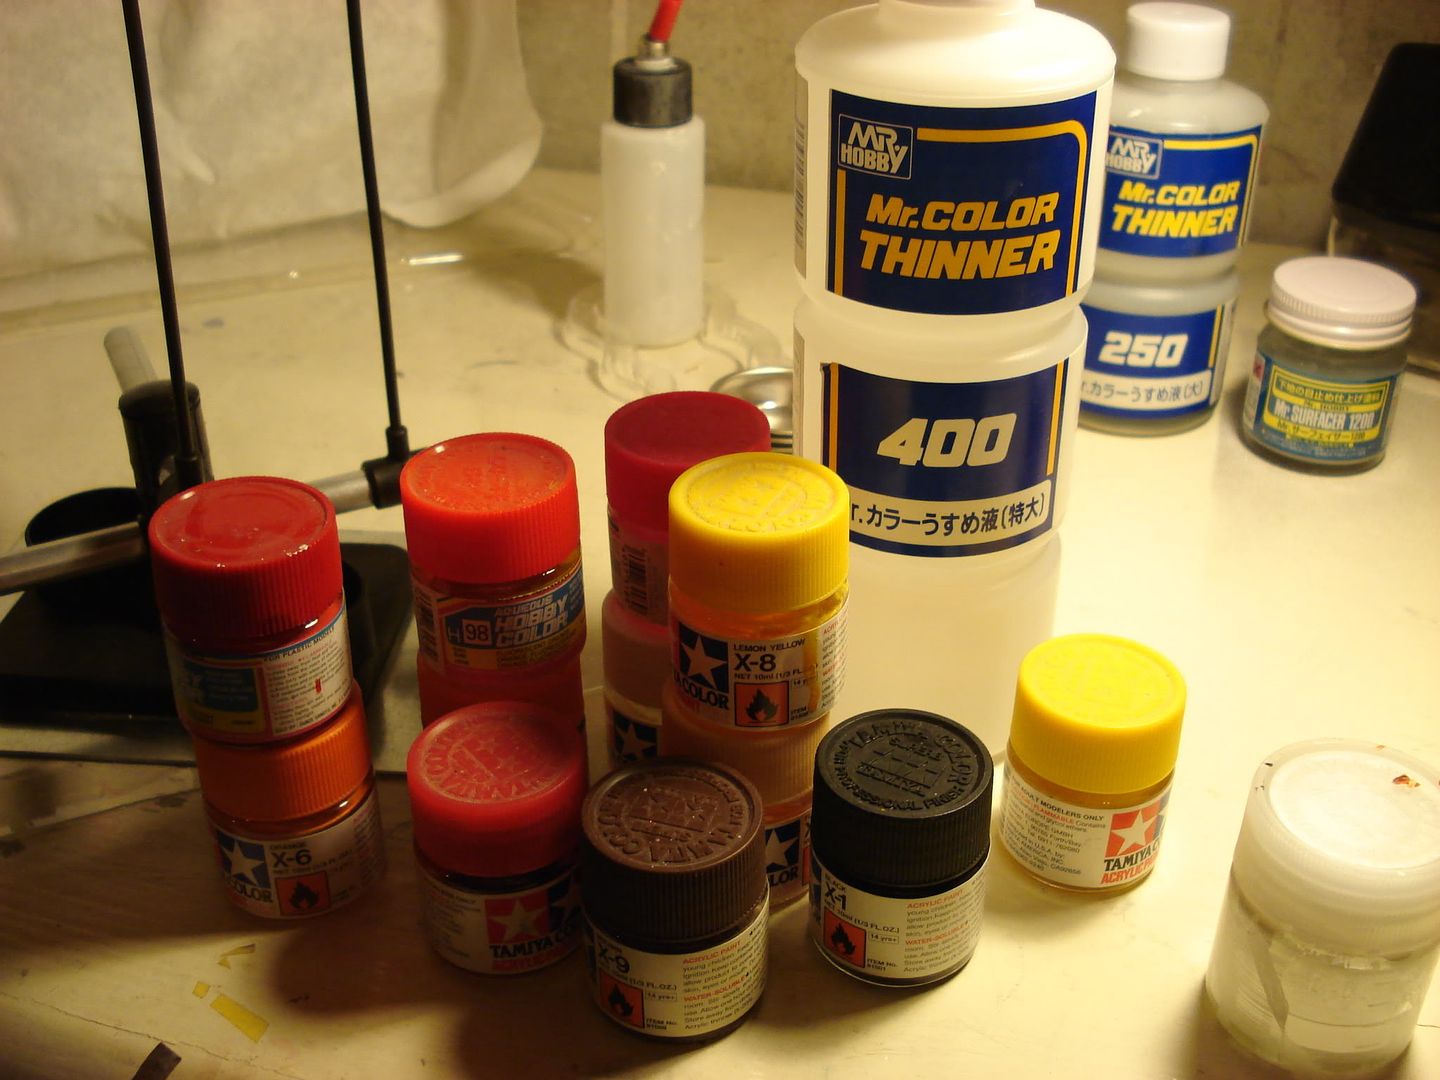
Here are the colors I'm planing to use:
And here is what I have done so far......
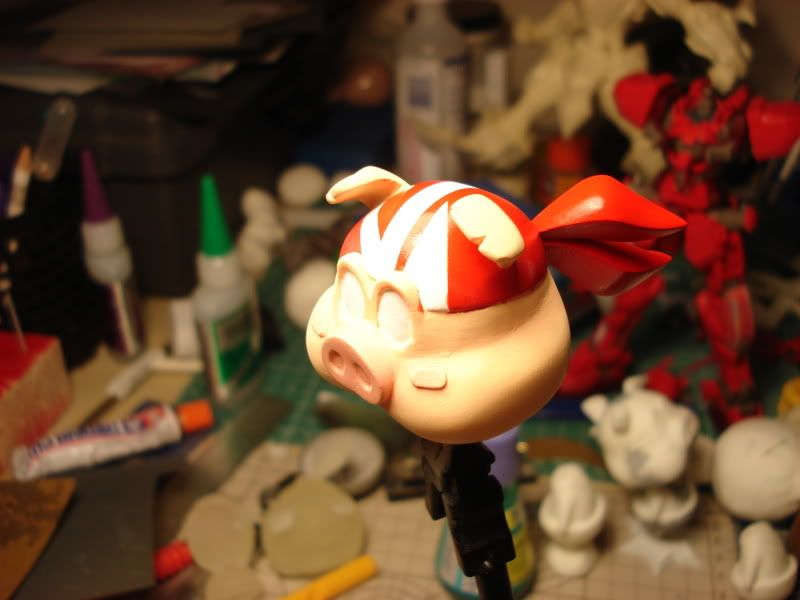
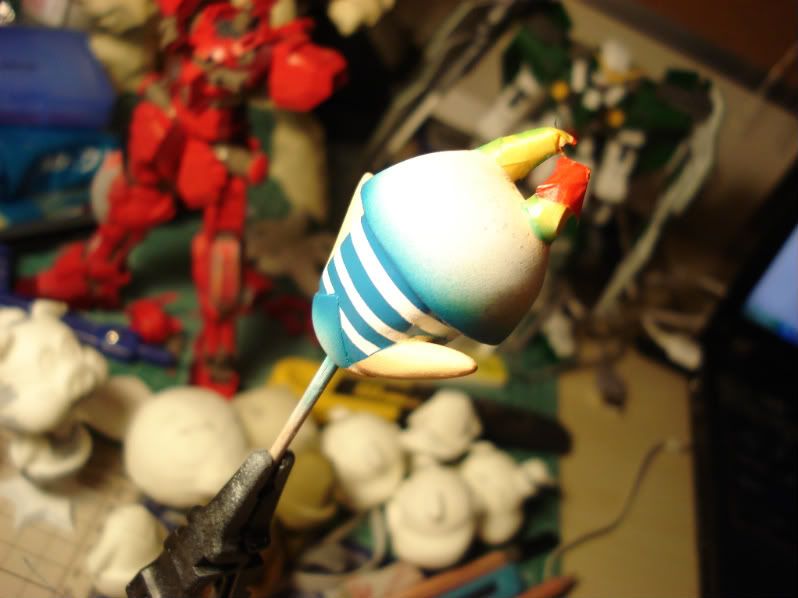
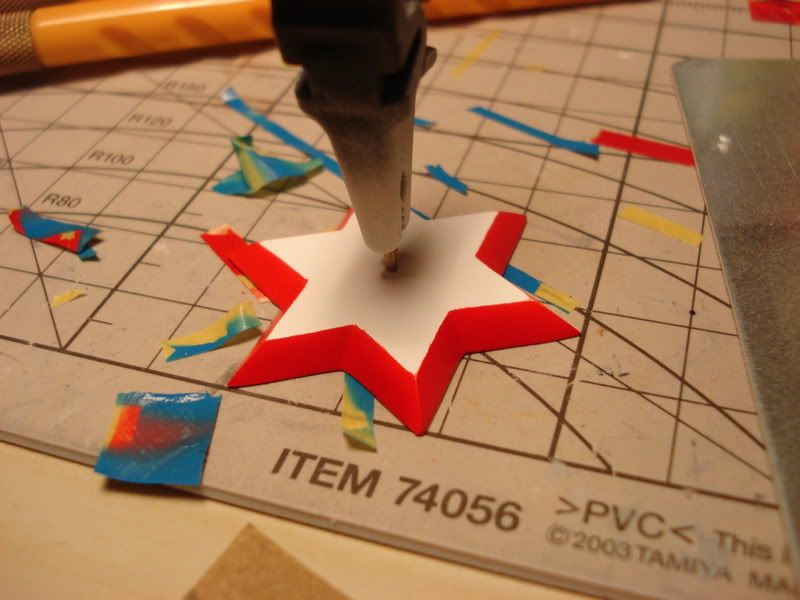
The head is pretty much done, only needs to finish up the eye.
There are two more colors left on the body, should be finish soon.
The base is done.
Check back on the weekend for the finished pics hopefully!


4 comments:
I absolutely LOVE your blog. This is awesome, love to see all the casting work being done. My manufacturing process course is over, so no more demonstrations from our Prof. He did cast some chocolate hippos on the last day though haha.
Also I think I read you are taking a class in this. Is this a college course or some arts course outside of school?
Thank you very much for your comments Jcee =).
Yes, I'm currently taking few art courses at Toronto School of Art (which, is outside of school). The courses I'm taking are sculpting and drawing class. They offer variety of sculpting classes, such as figure sculpting and carving. I think they also offer one just for casting.
Thanks for the info. I would love to take a few courses there when time is available.
Also where do you purchase your tools and supplies? (eg. sculpting tools, casting mixtures)
For sculpting tools, you can get them from most art store. For casting materials, you can get them from http://hobbycast.net/
Post a Comment