Monday, January 26, 2009

DIY How to Build An Armature ... for NOOBS!

Spent few hours over the weekend to play around with aluminum wire to see how difficult it is to build an armature by yourself. It turned out to be a lot simpler than I thought. So here it goes:

Before you start, you have to know how big you want your armature to be. While I was playing around with it, the armatures are either too big or too small. Once you know the size, we can get start with it.

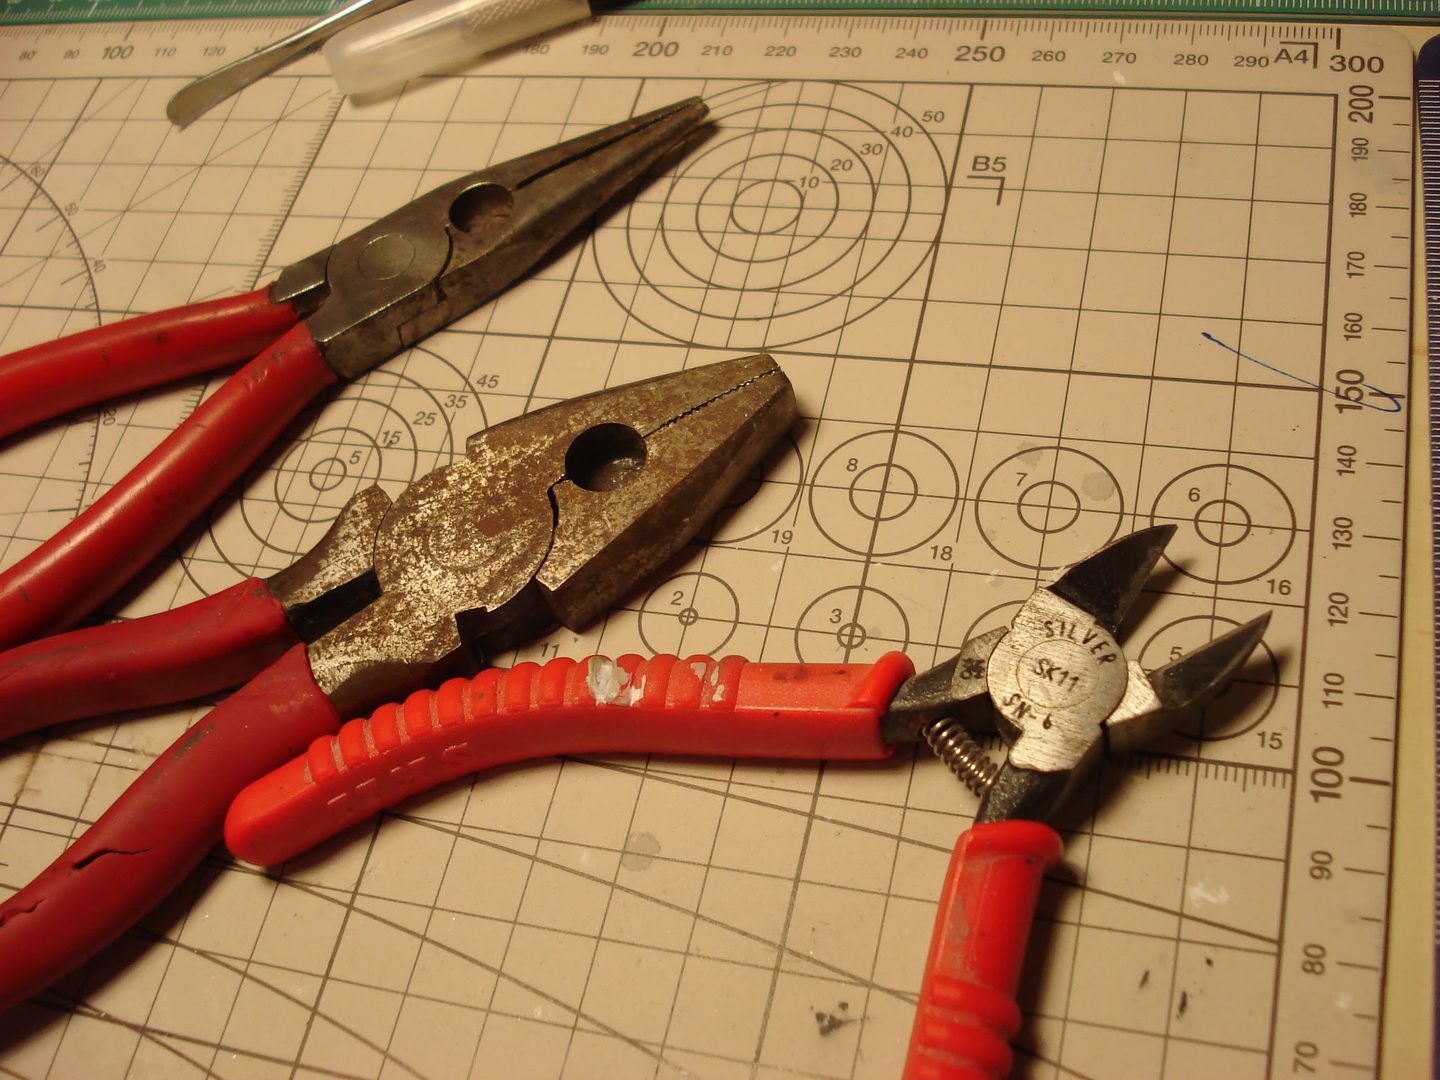
Tools we need:
Photobucket

One or two wire clipper, and a wire cutter. Not to mention the materials we need, aluminum wire, lots of it.

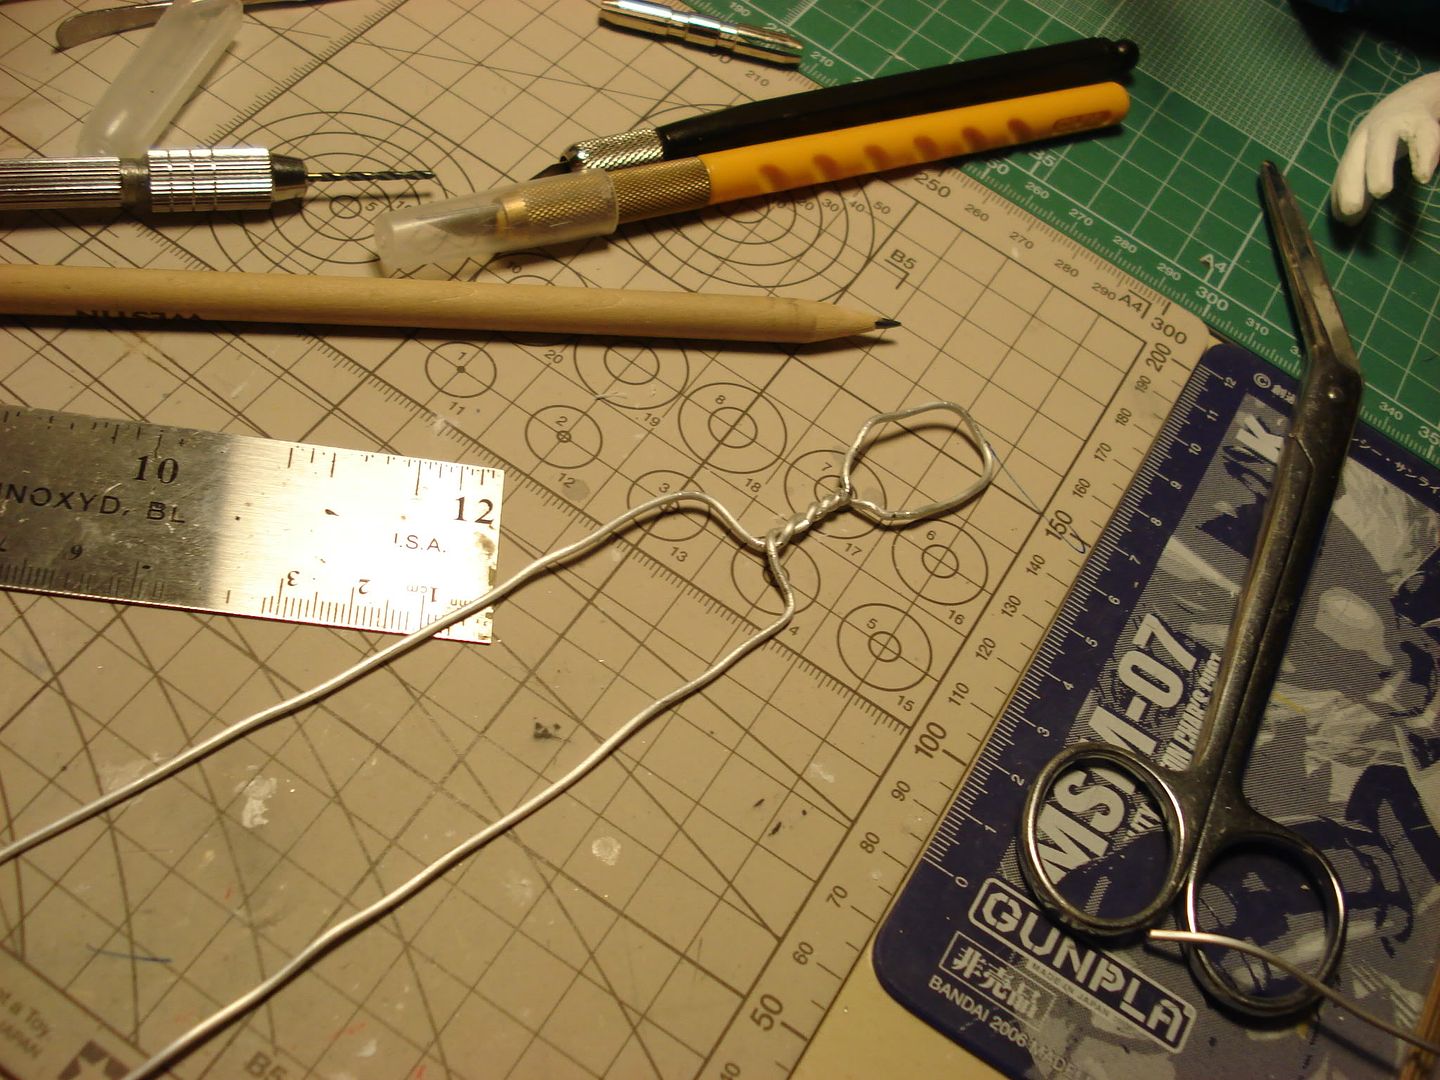
First, we start with two wires both with length of 25 inches long, take one wire, find the middle point, and then bend it, and twist it using the wire clipper (clip on one end and then start twisting) to make the head, turn it in to something like this:
Photobucket

This will give my armature around 12 inches tall.

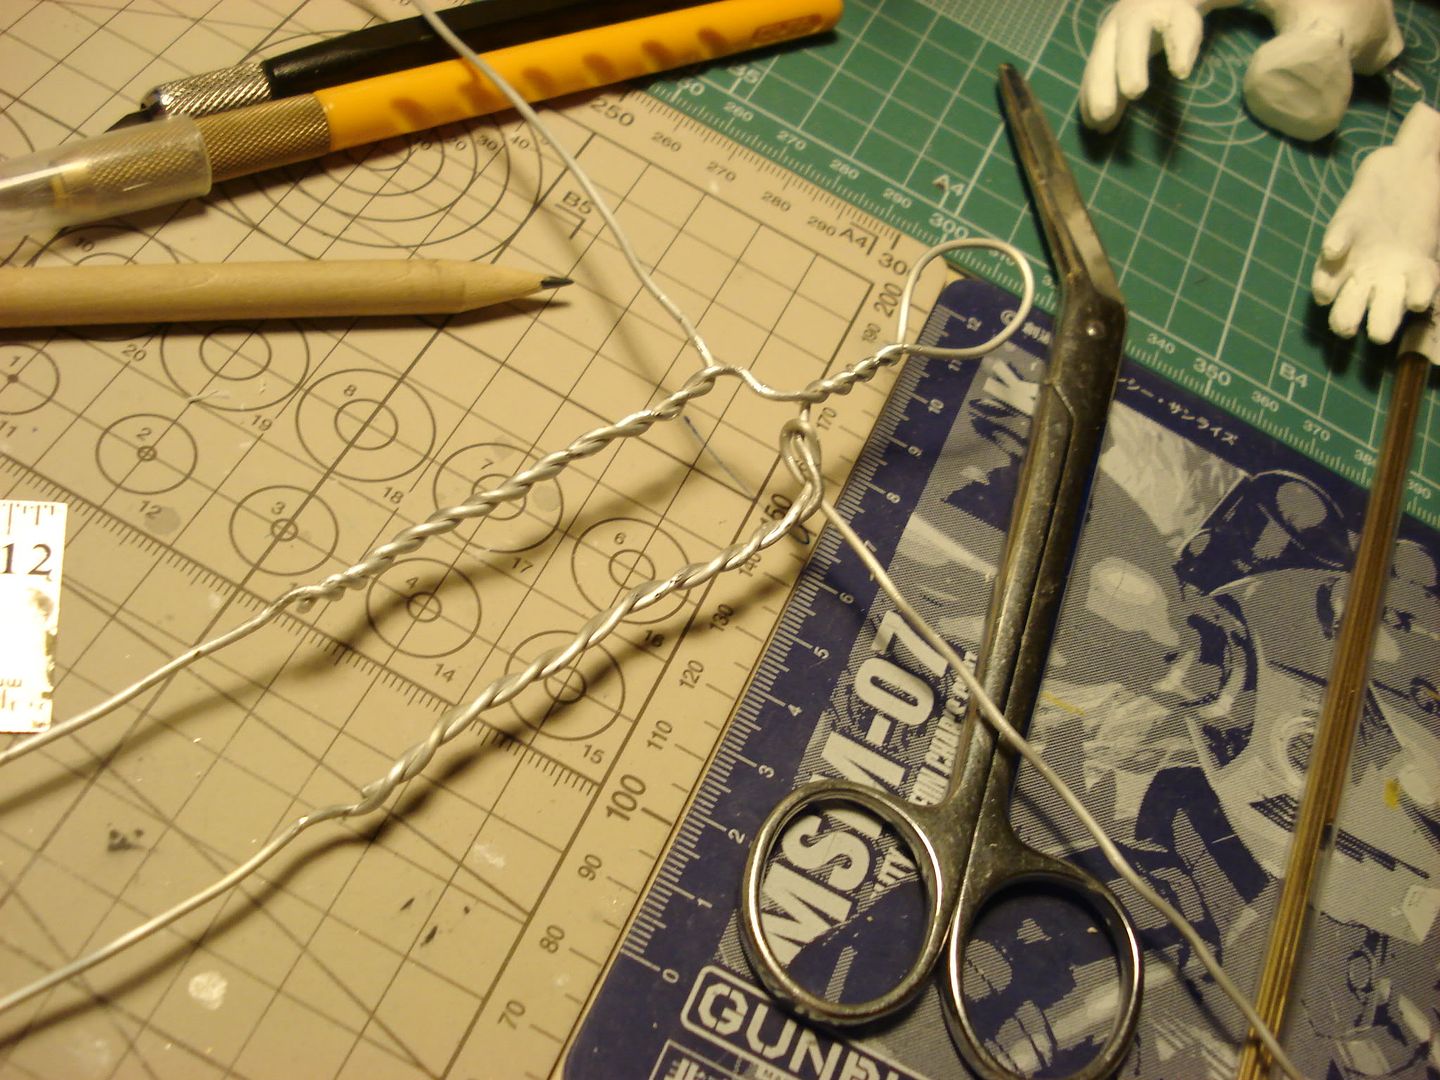
Then, for the other wire, which is 25 inches long, we cut it at middle point, We will use it to make the arms. Then, we find the middle point of the armature I just built before. In this case, the middle point will be 6 inches from the head(or leg...). We apply the same concept, we take one of the shorter ones we just cut and start twist it together with the previous one, make sure that we are twisting the direction of the head instead of the feet... and we have:
Photobucket

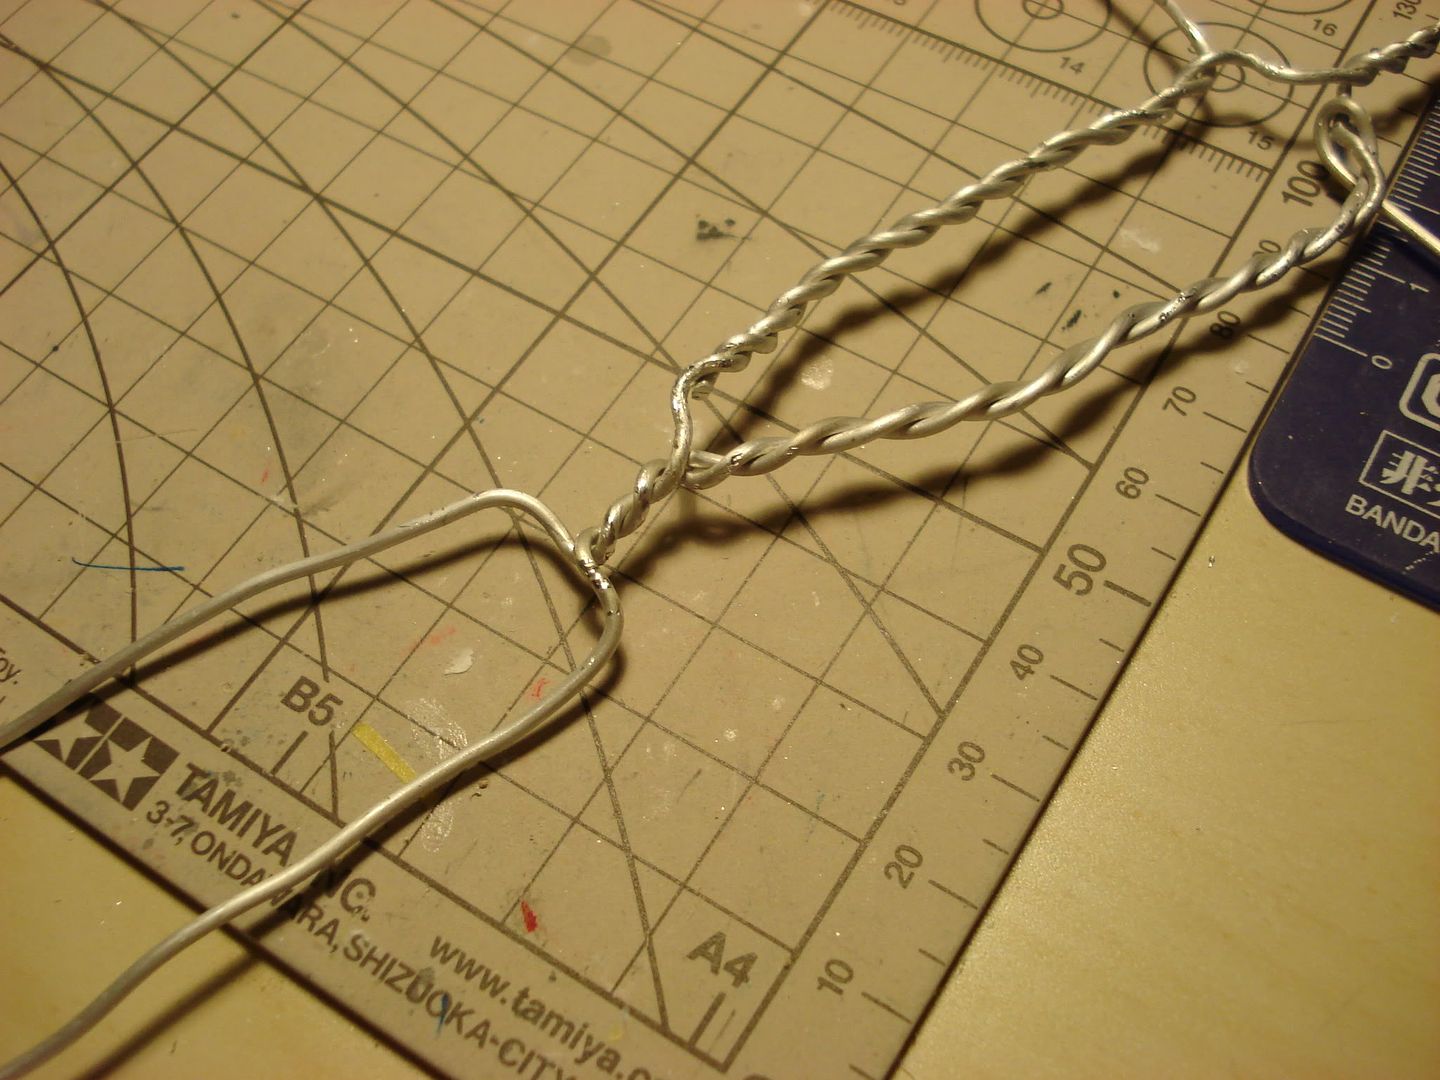
Now we are almost done, all we have to do now is just twist the two leg wires together:
Photobucket

And this will give me an armature that is around 11 inches tall.

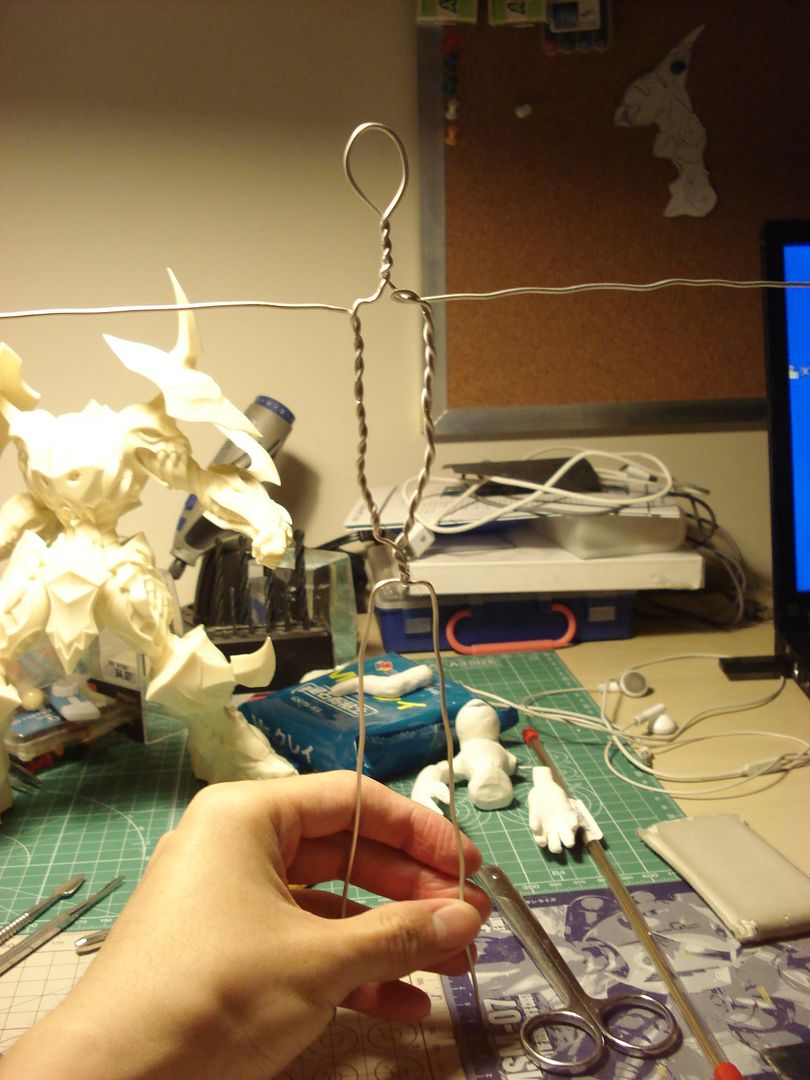
And here is the result:
Photobucket

Note: we can start with some longer wires and then cut it to the size we wanted after we done, but have to make sure that the ratio is correct: the leg is equal to half of the armature's entire height, meaning if the armature is 14 inches tall, then the legs has to be 7 inches long. And don't forget, when we extend the arms, it has to equal to the height of the entire armature!

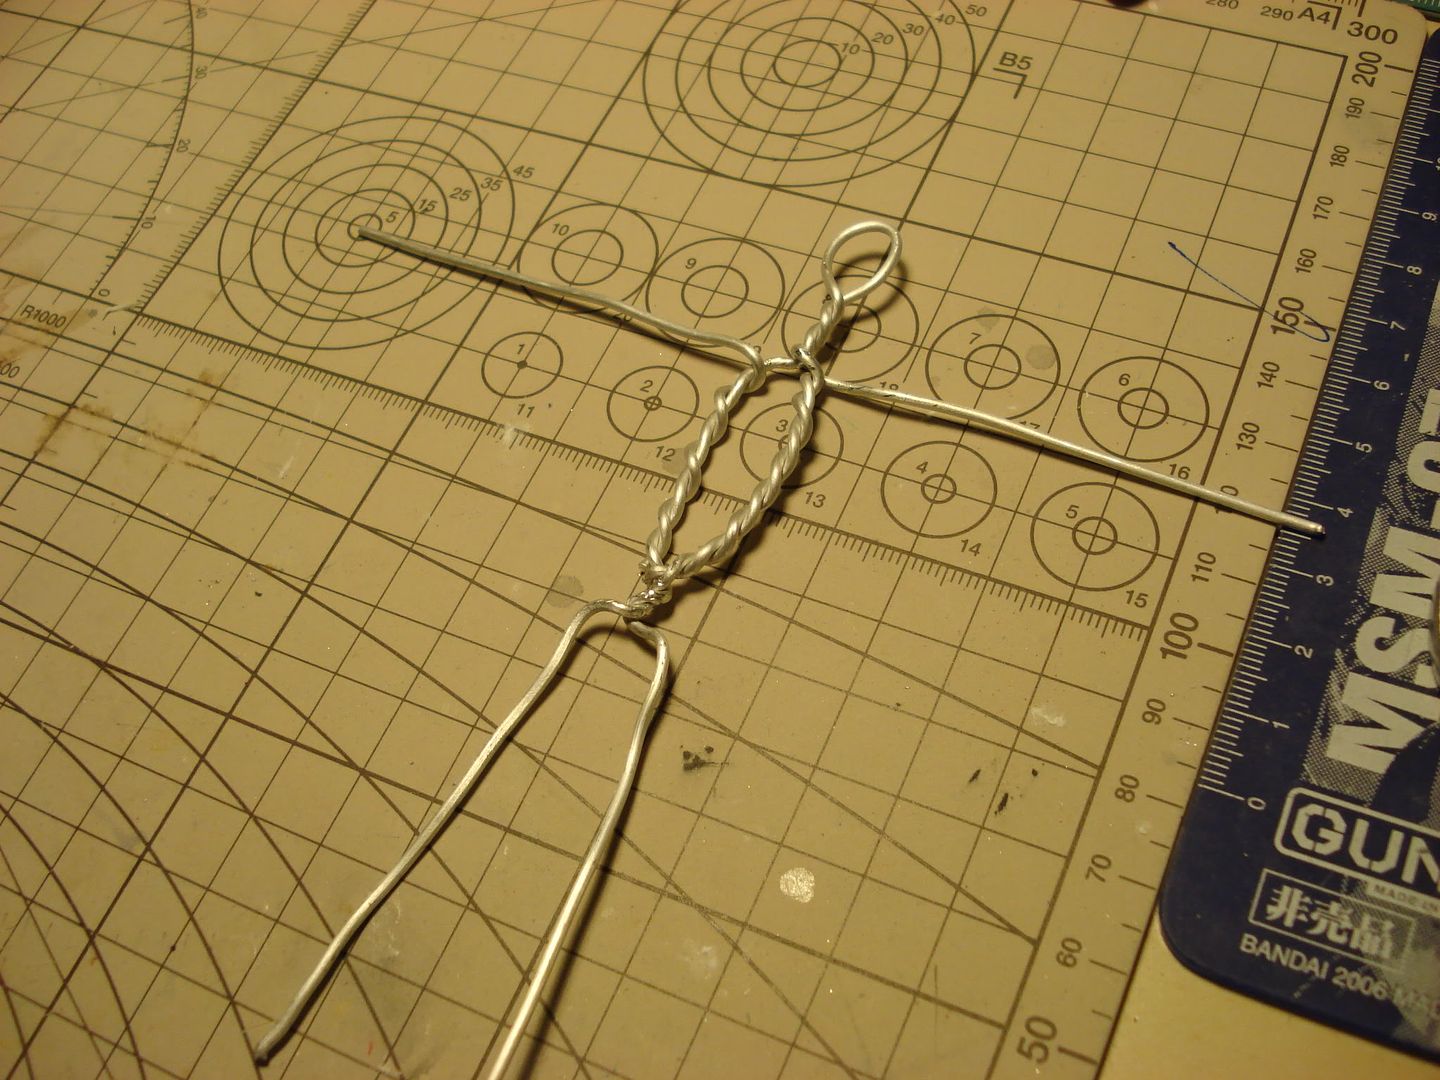
And here is a small one, which is around 5 inches tall.
Photobucket

If there are any things unclear, please leave a comment, thanks!

Tuesday, January 20, 2009

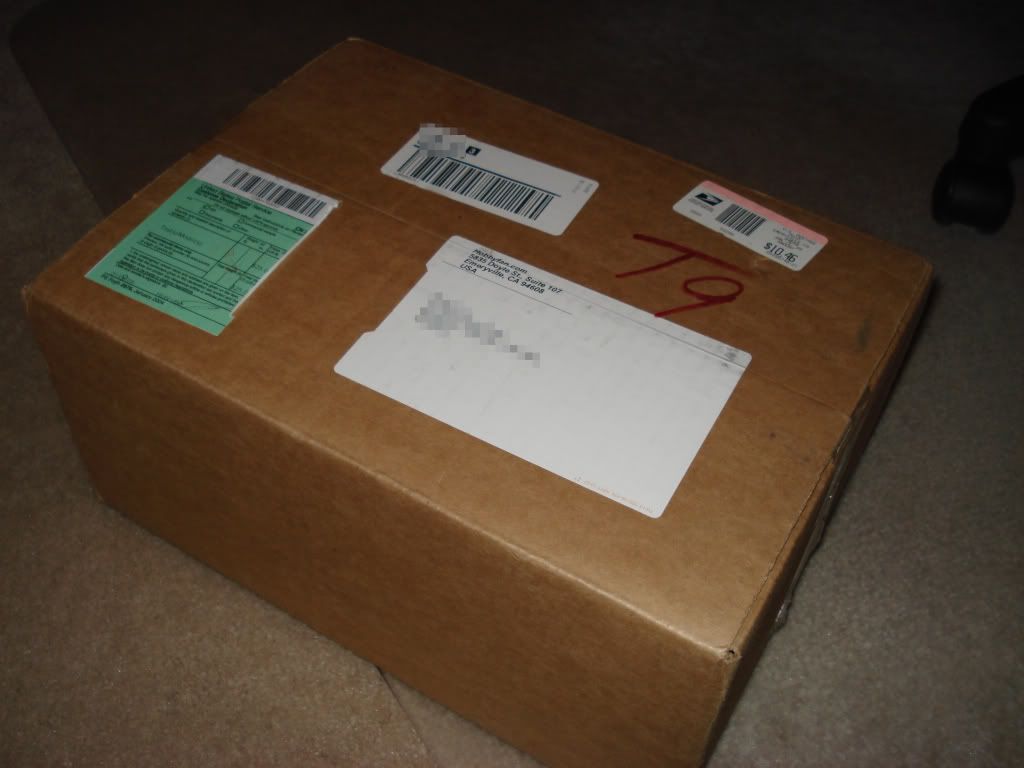
New Year's Second Mail Delivery

After 6 months of waiting.... this thing finally arrived at my mail box today...


Photobucket

is...


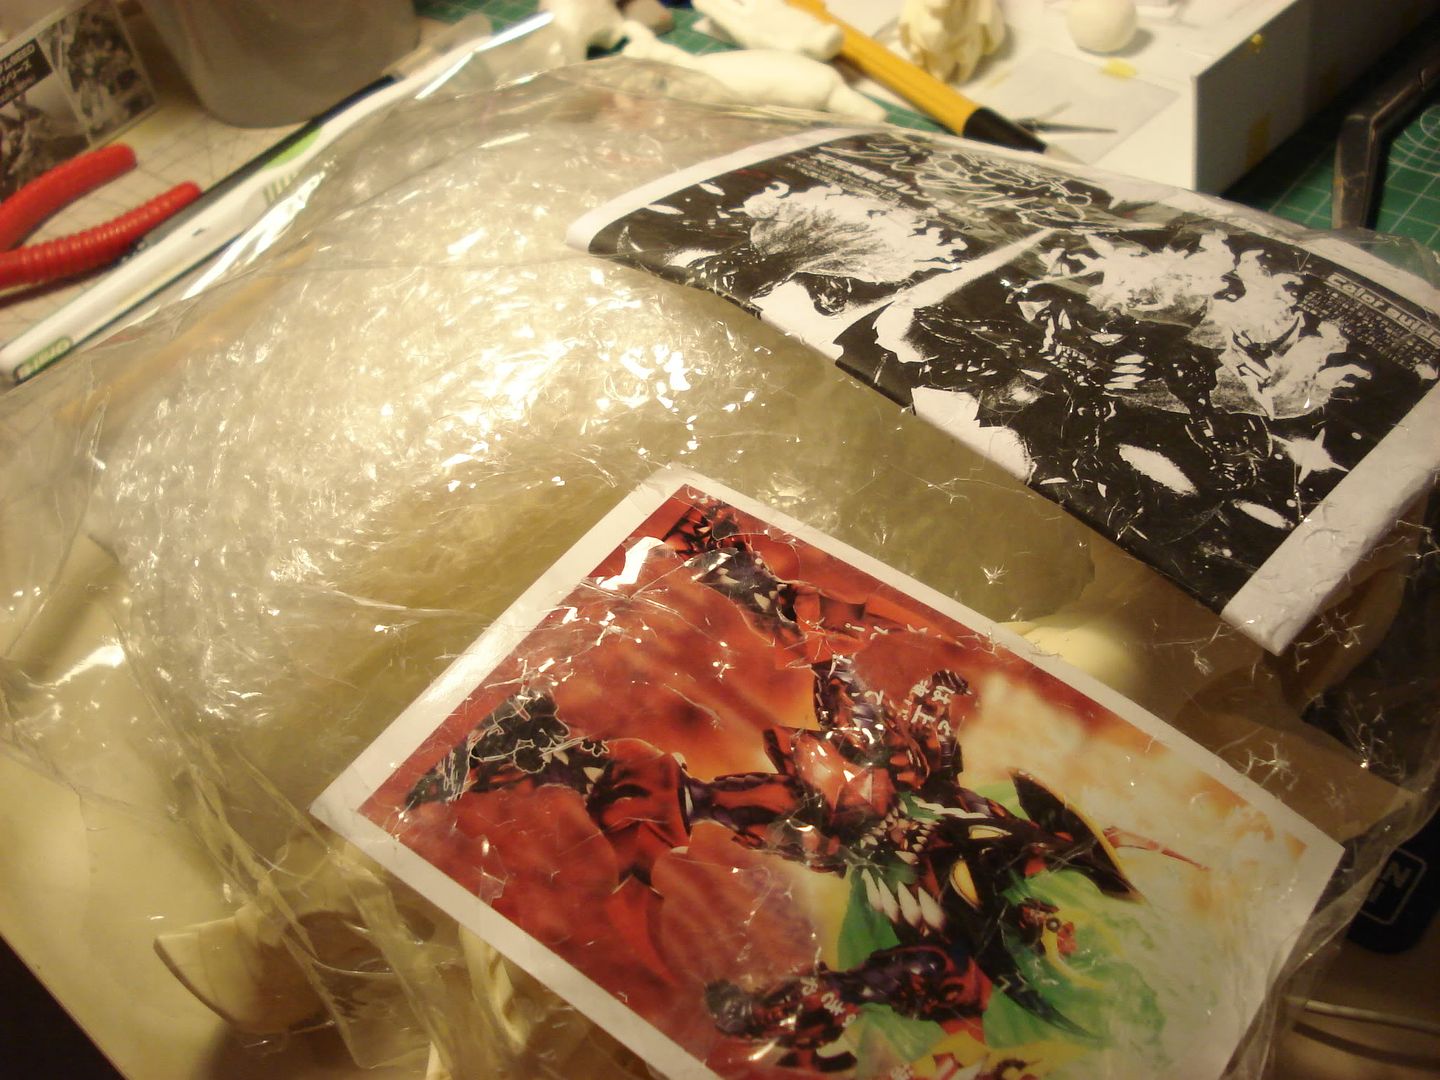
Gurren Lagan by Volks!

Photobucket

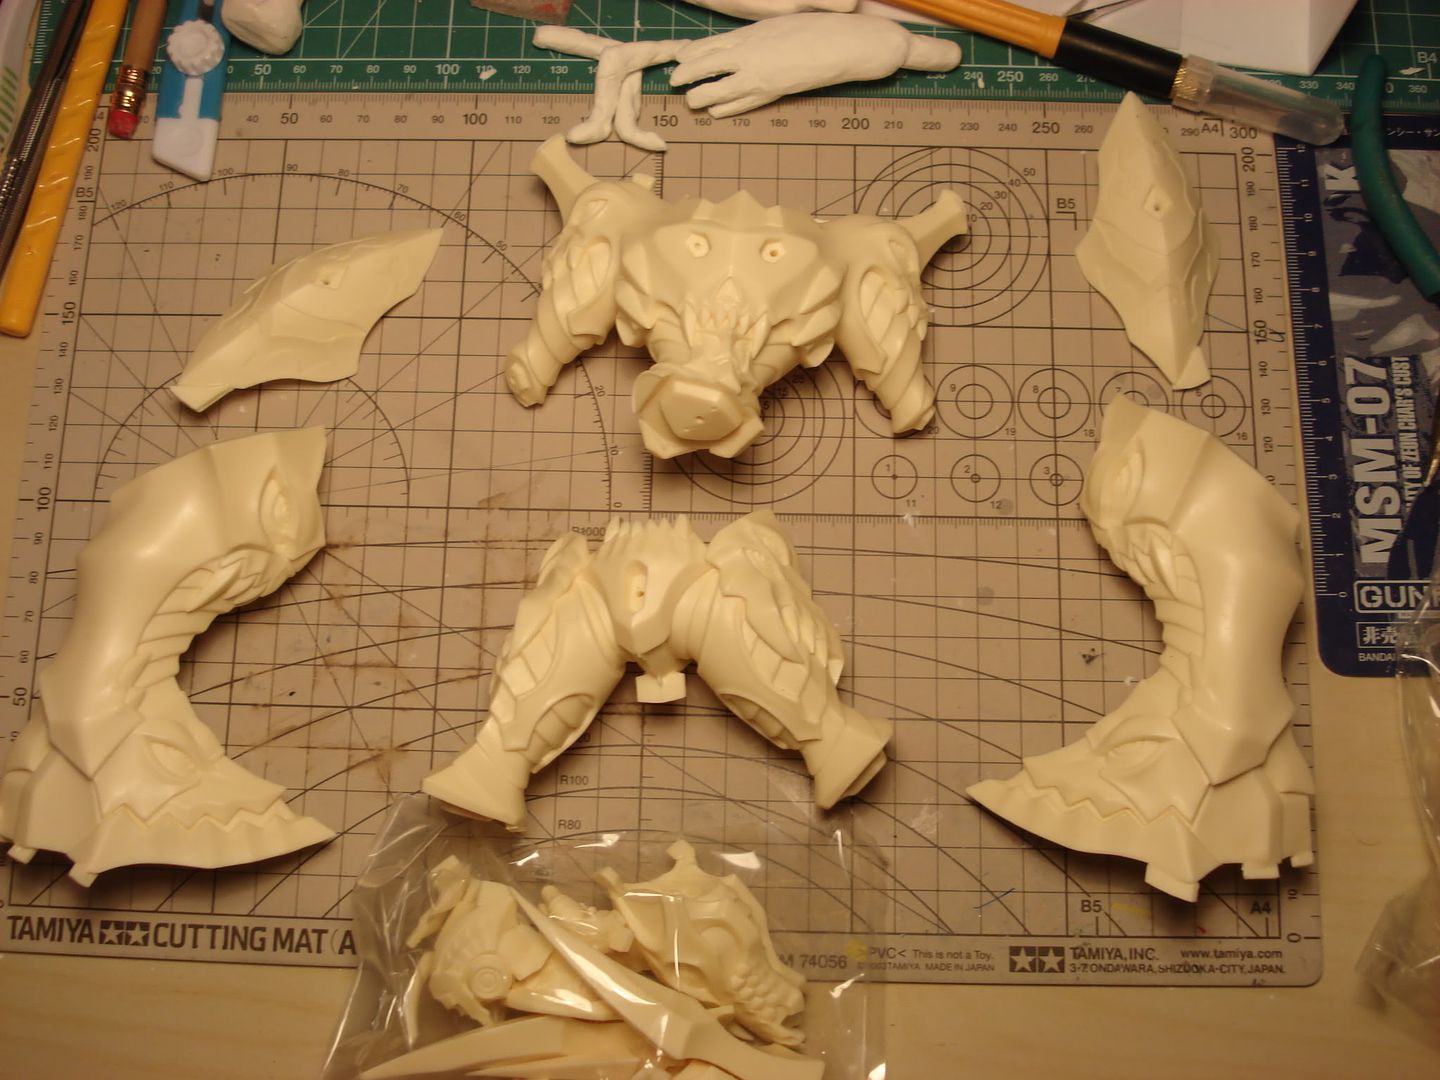
The cast quality is just amazing:

Photobucket

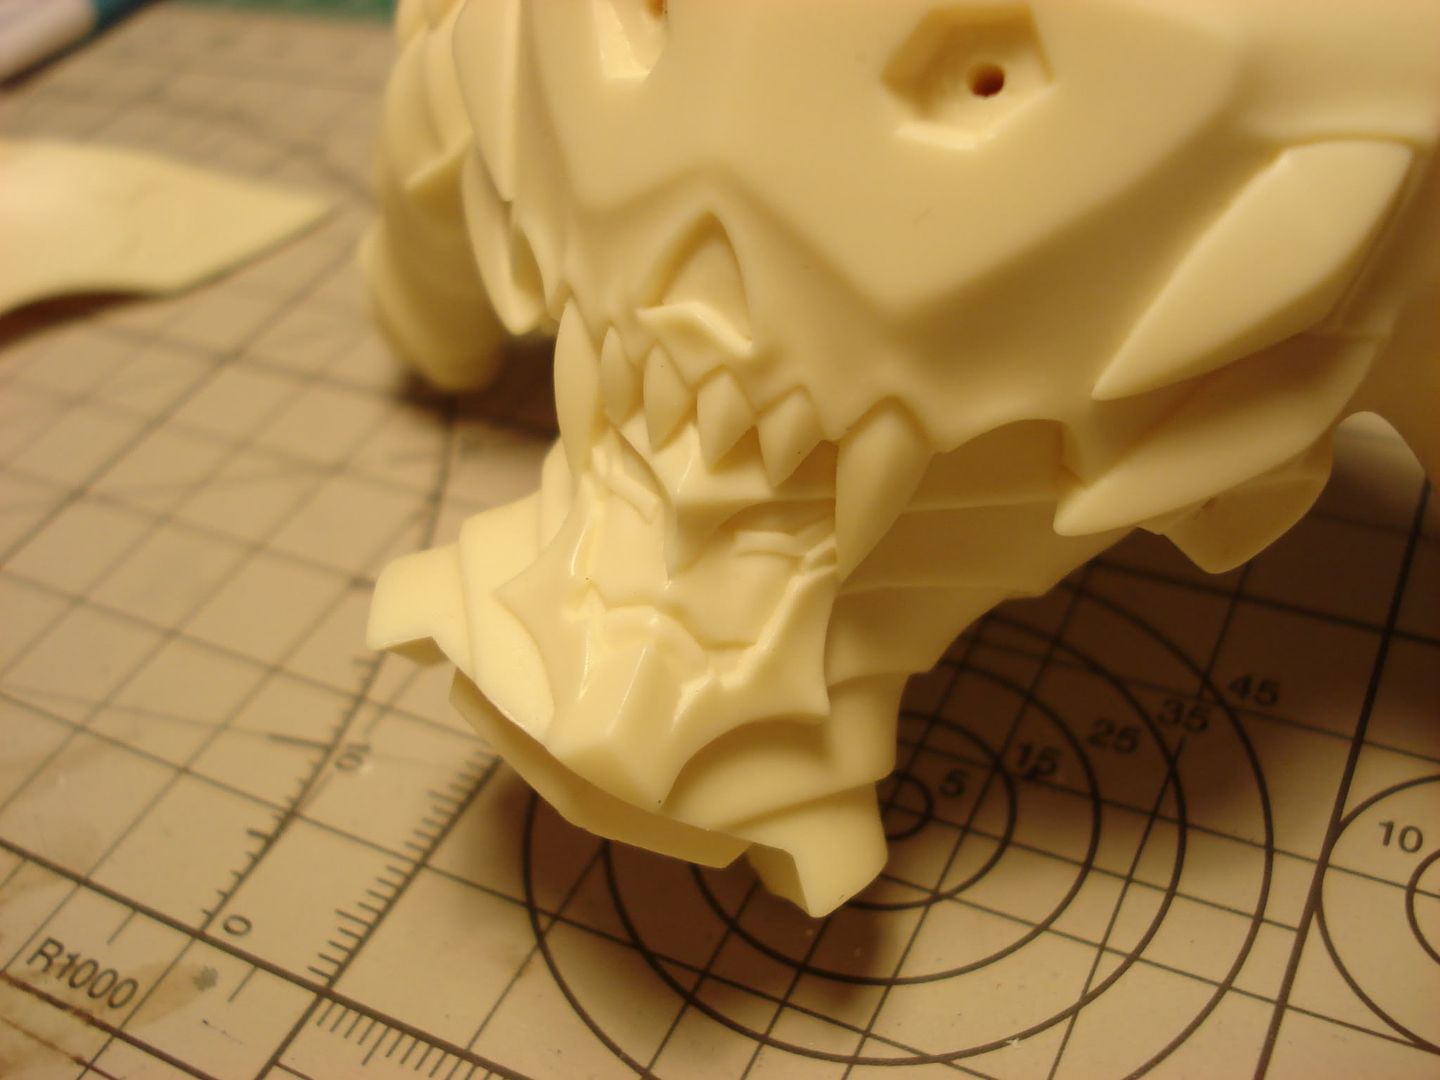
And here are some detail pics:

Photobucket

Photobucket

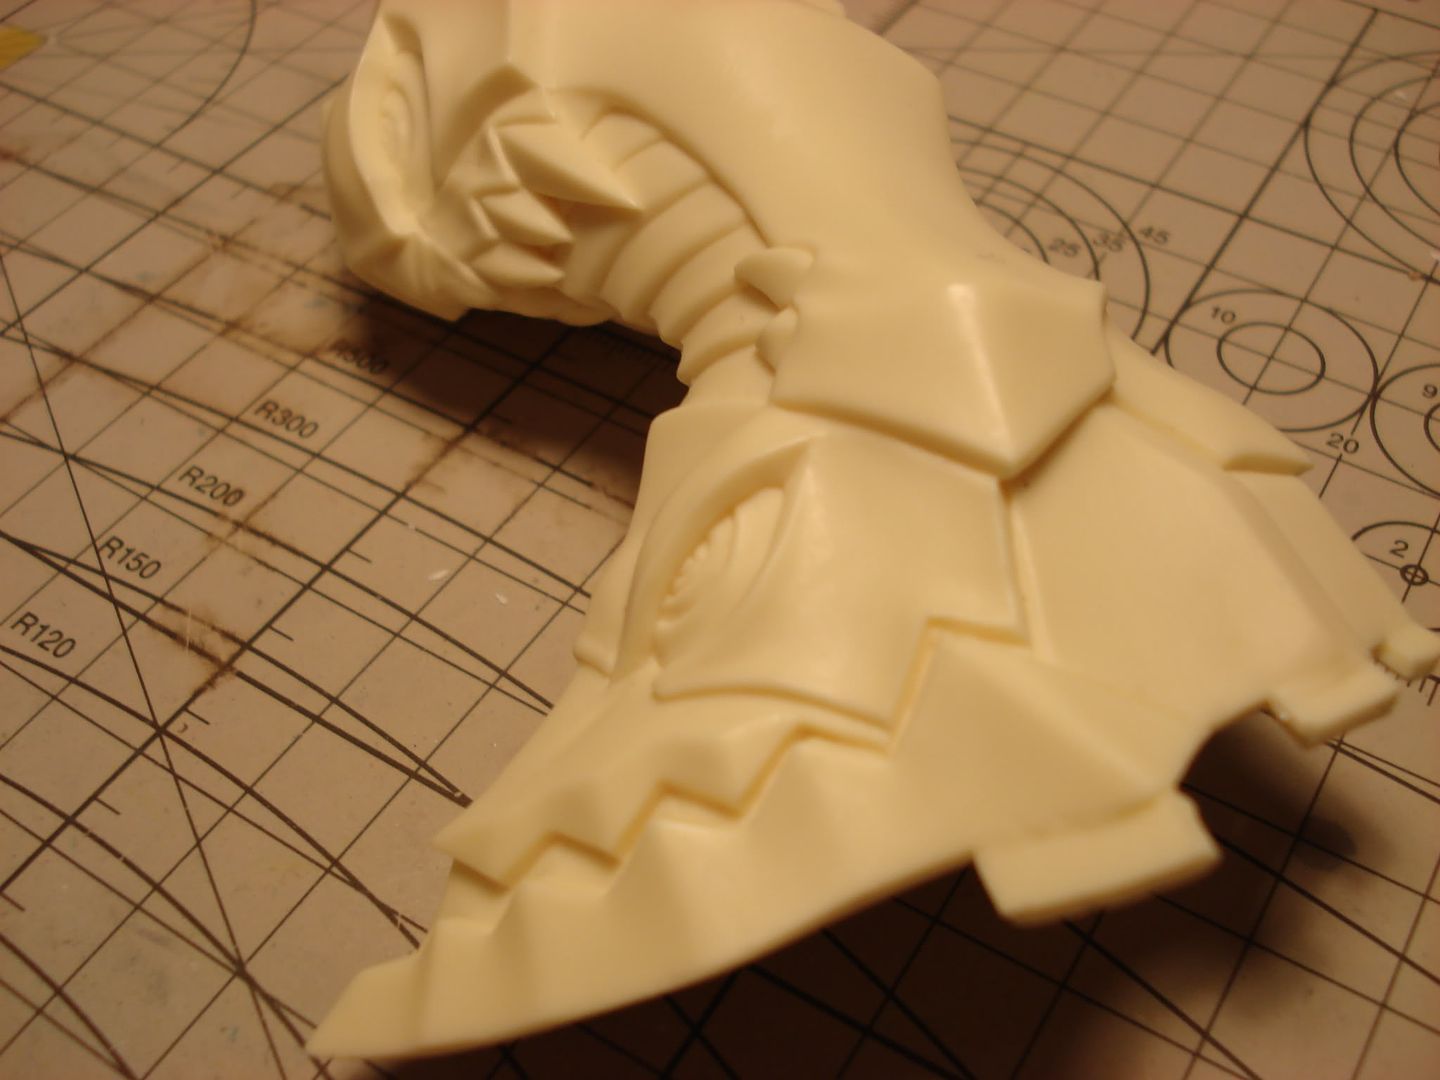
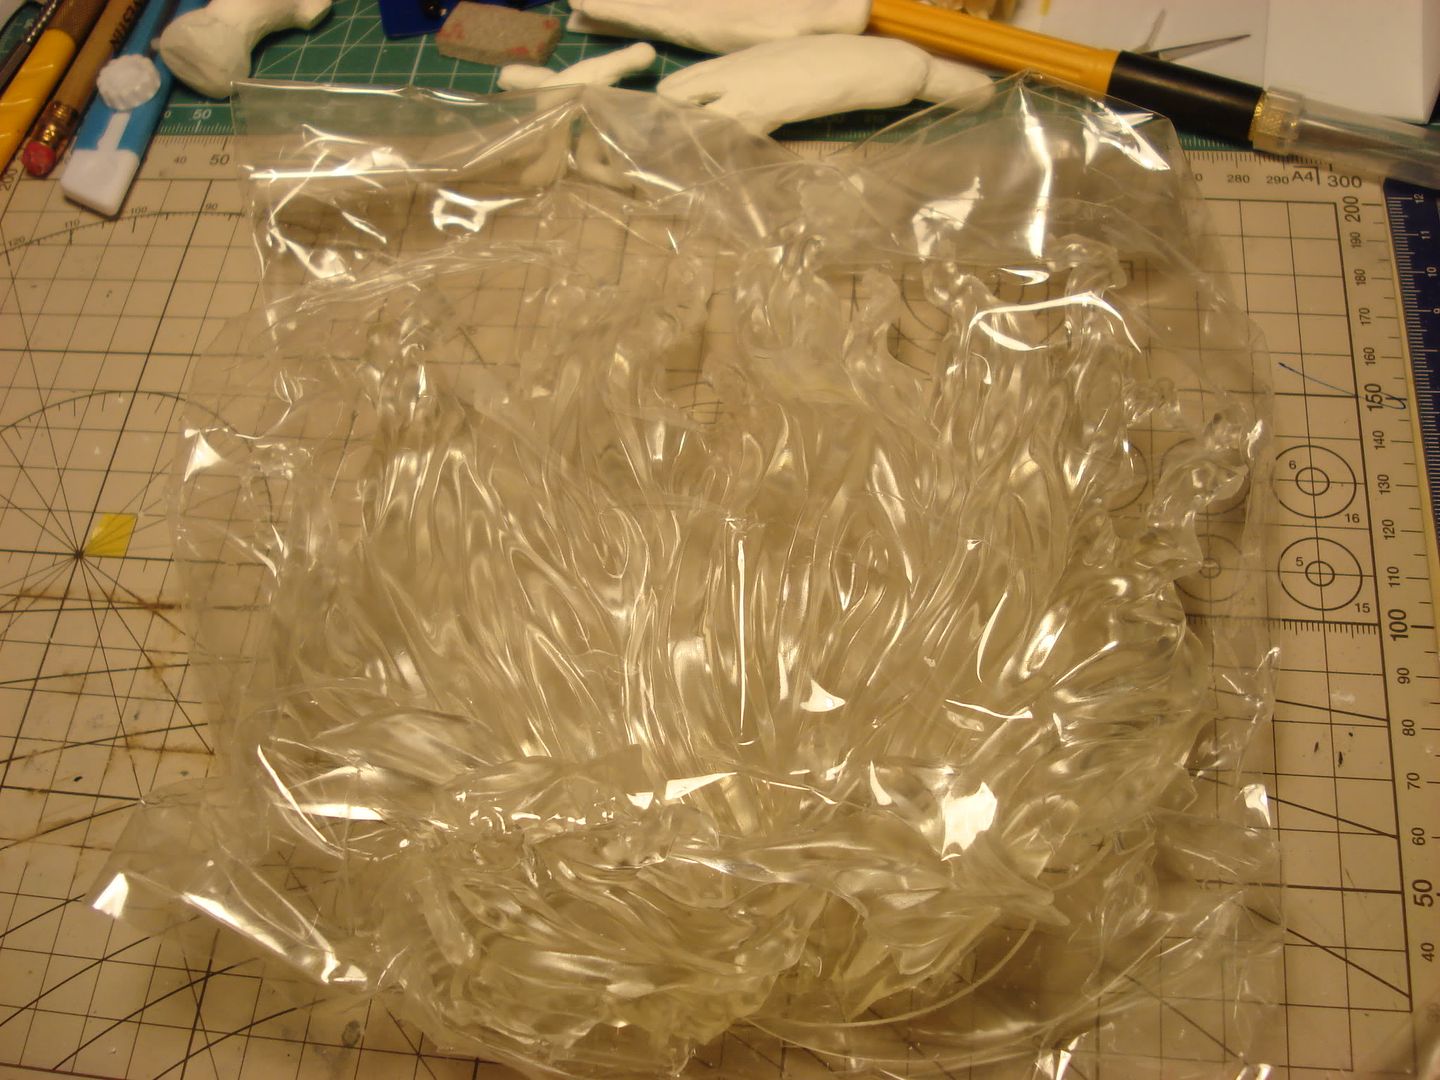
Here is the famous clear flame part:
Photobucket

Sunday, January 18, 2009

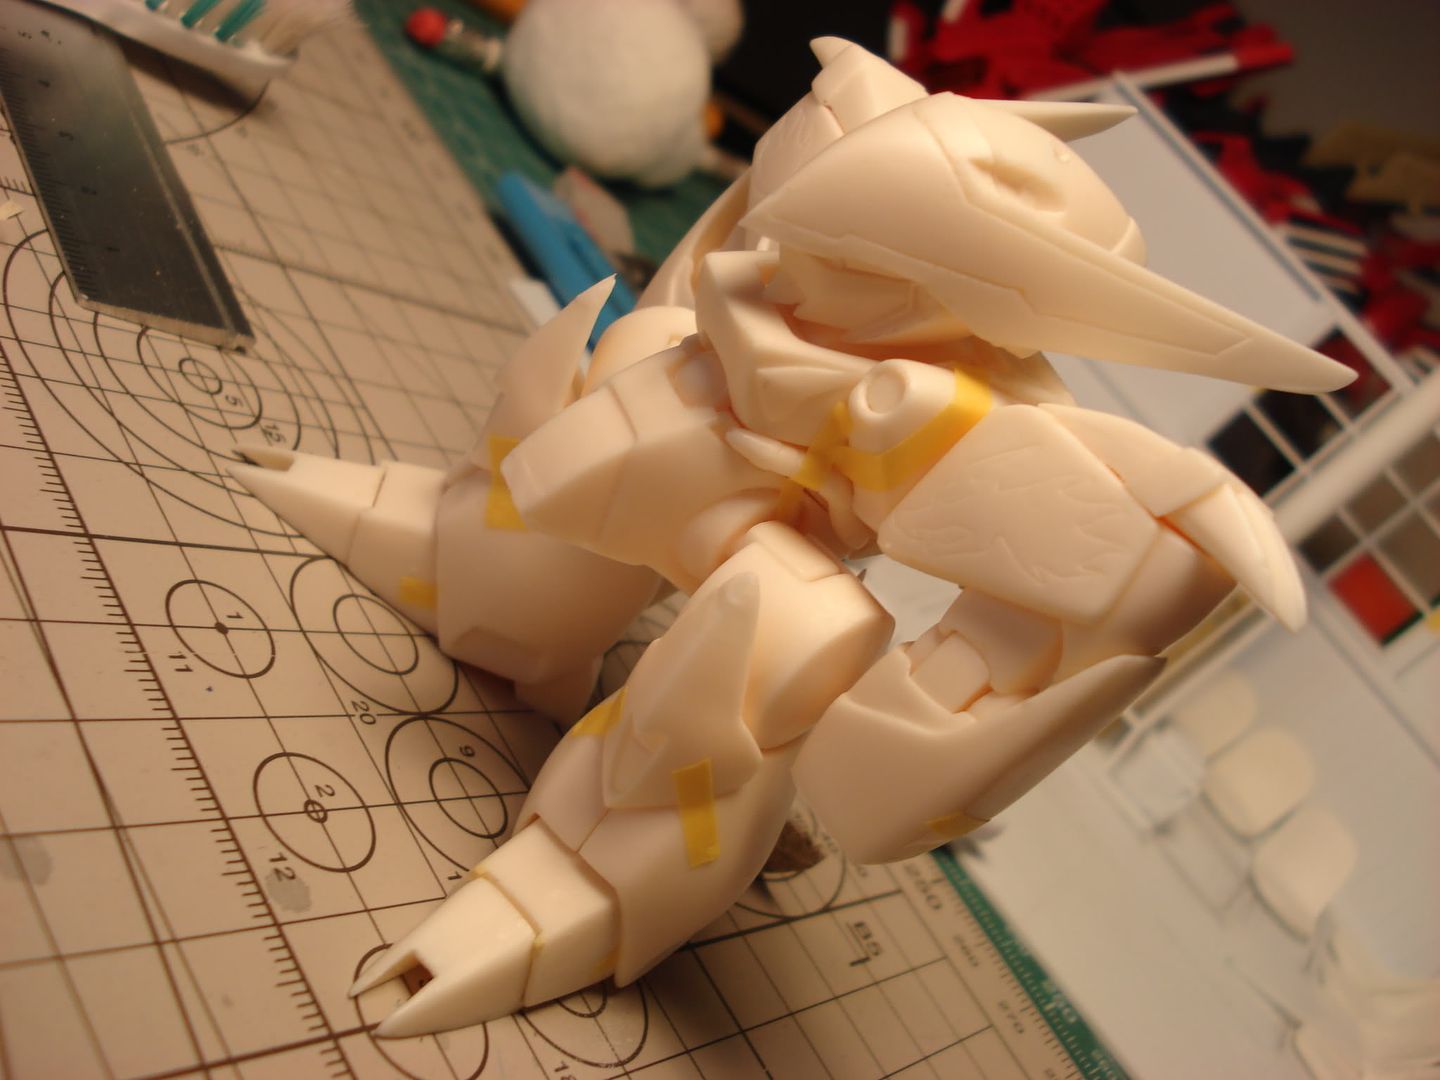
Xamdou Update II (Here comes the arm~!)

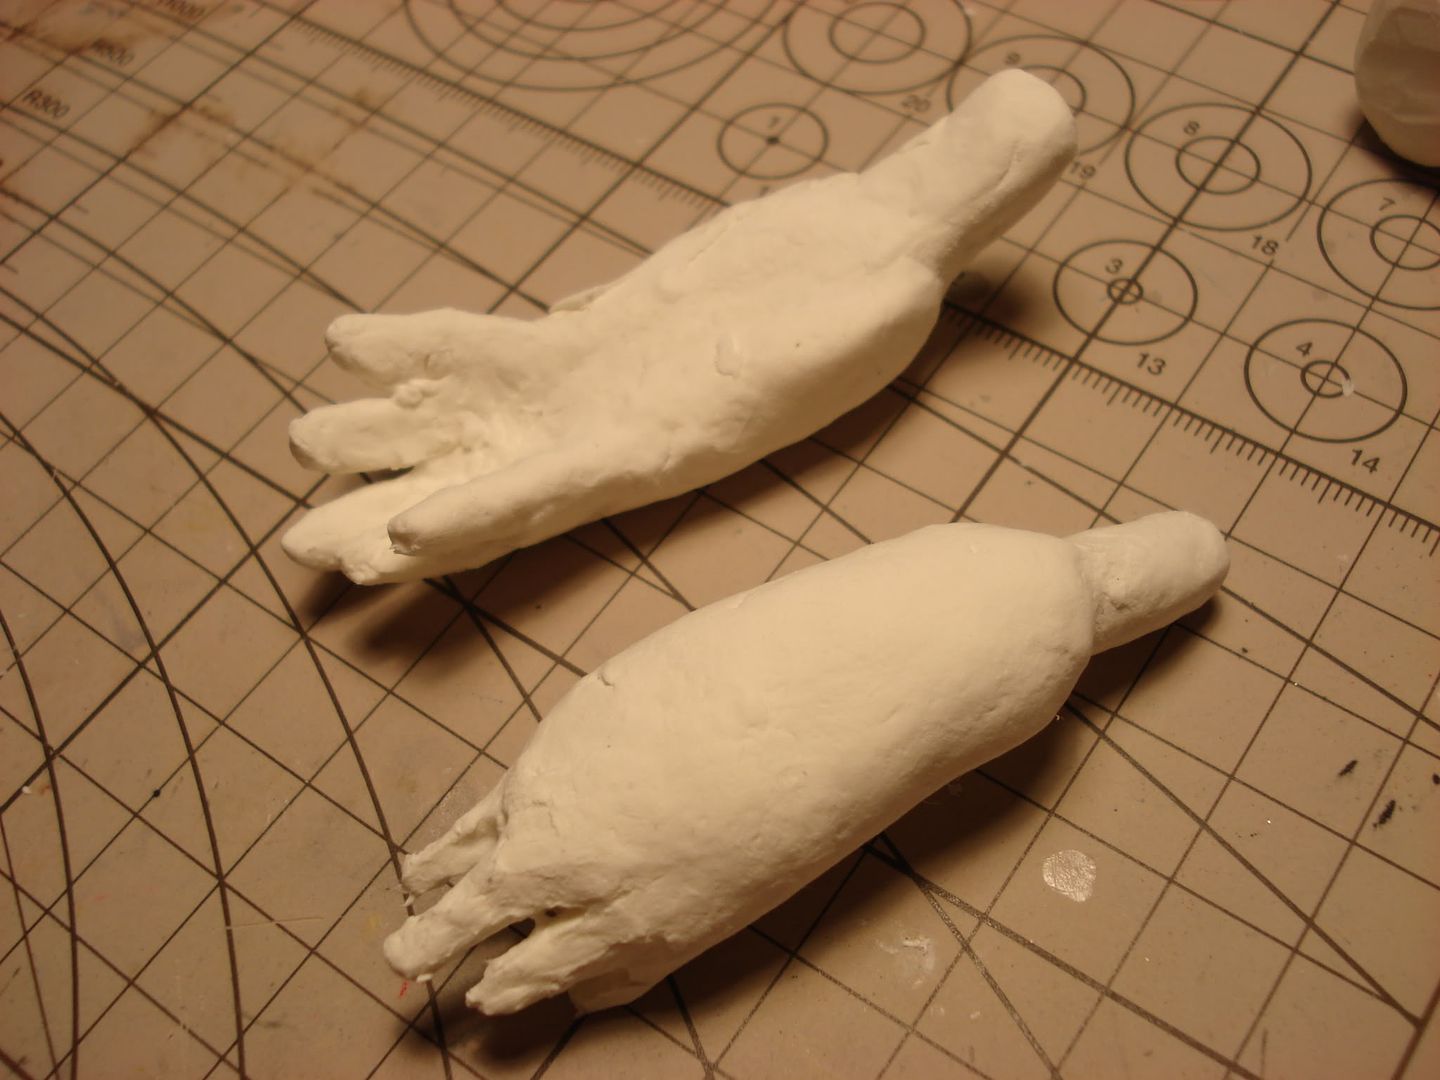
My original plan was to just build the body of this project, since I don't have much of experience of building armature for figure sculptures, decided to give a try on the arm. There is also an armature inside the body, but it was poorly constructed... Anyway, here we go:

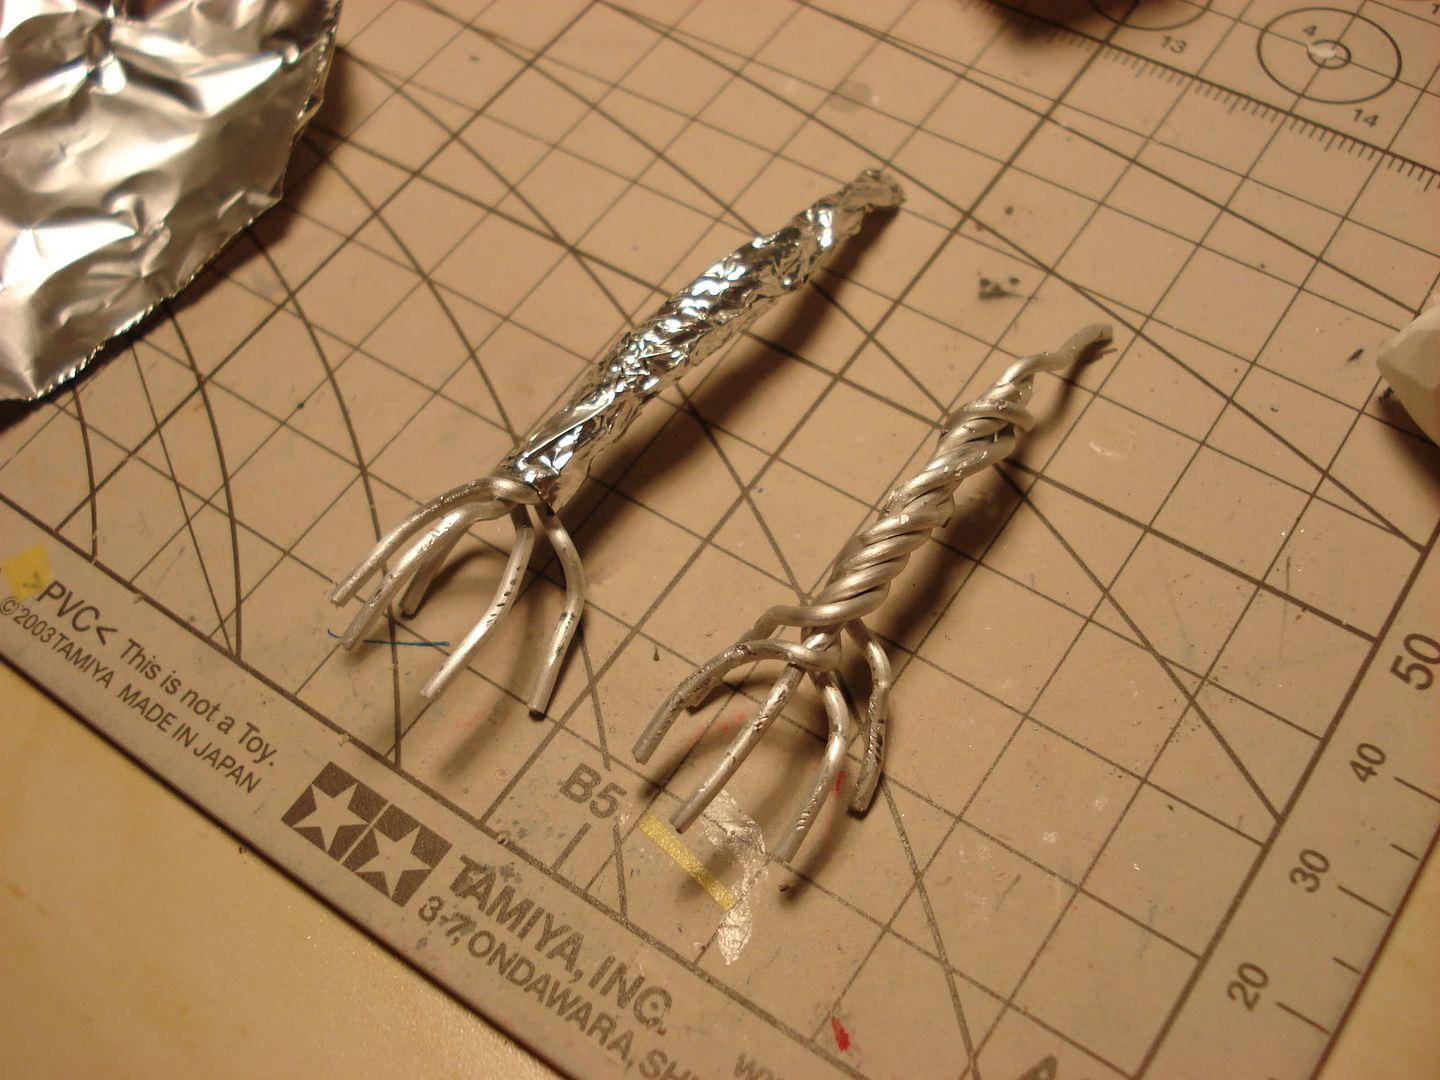
Start with 5 aluminum wires, then twist all these wires together, leave one end open to support the fingers. Then I used aluminum foil to warm it around so that it can give space to clay to shrink once is fully dried.

Photobucket


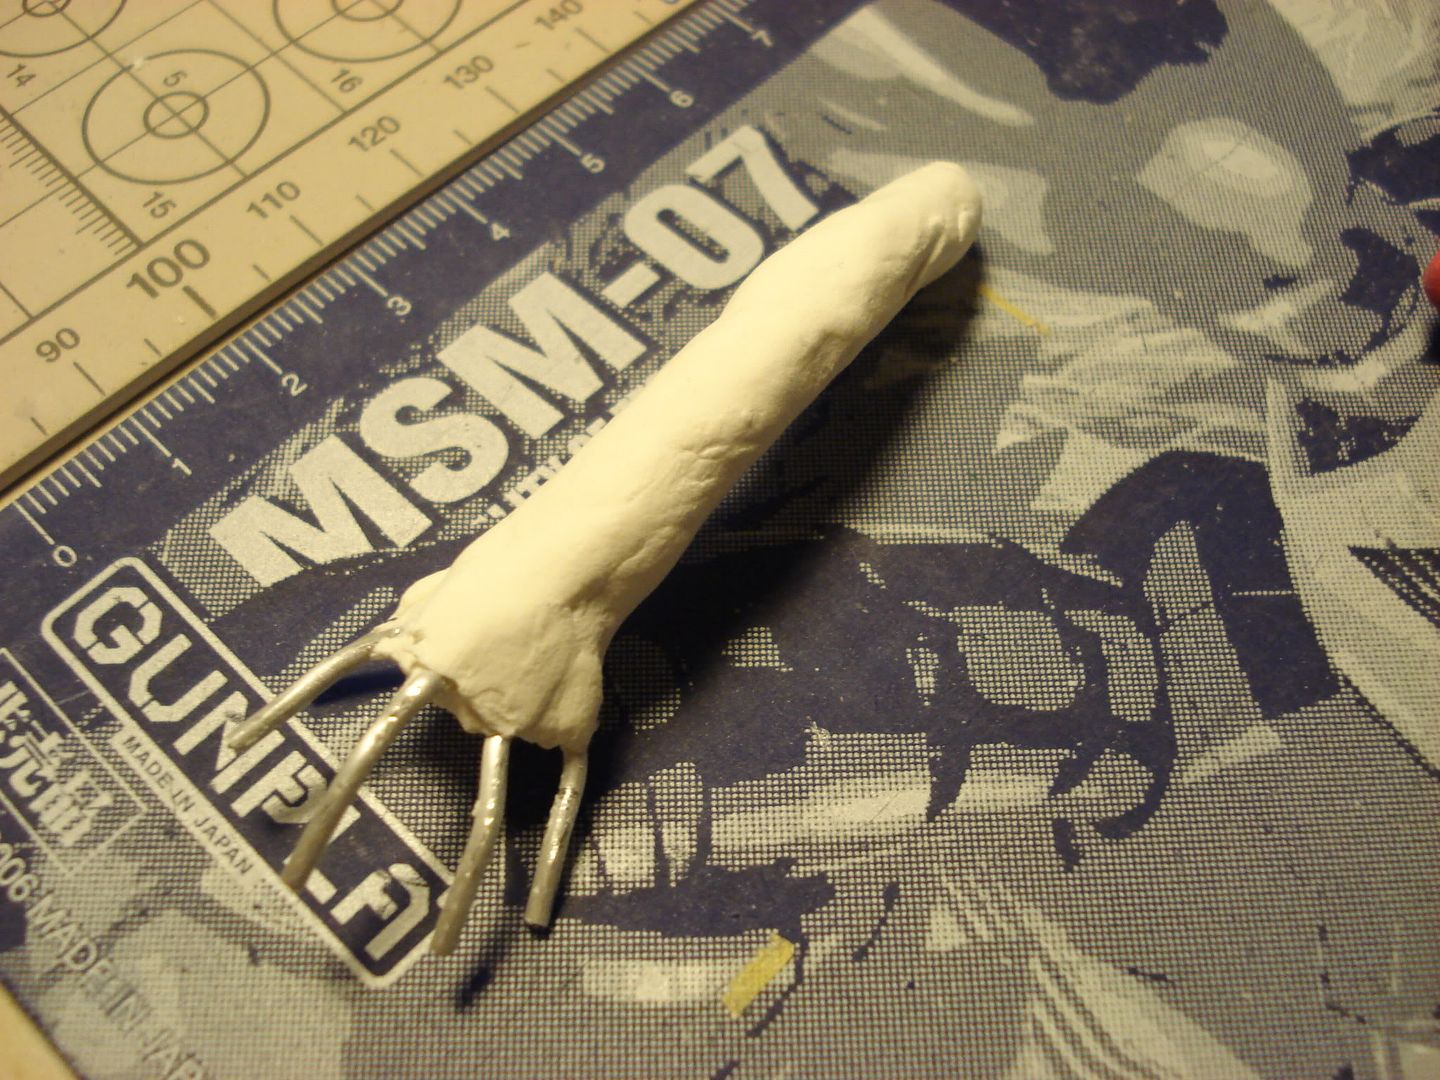
Then cover it up with first layer of clay:

Photobucket

Then the rest:

Photobucket

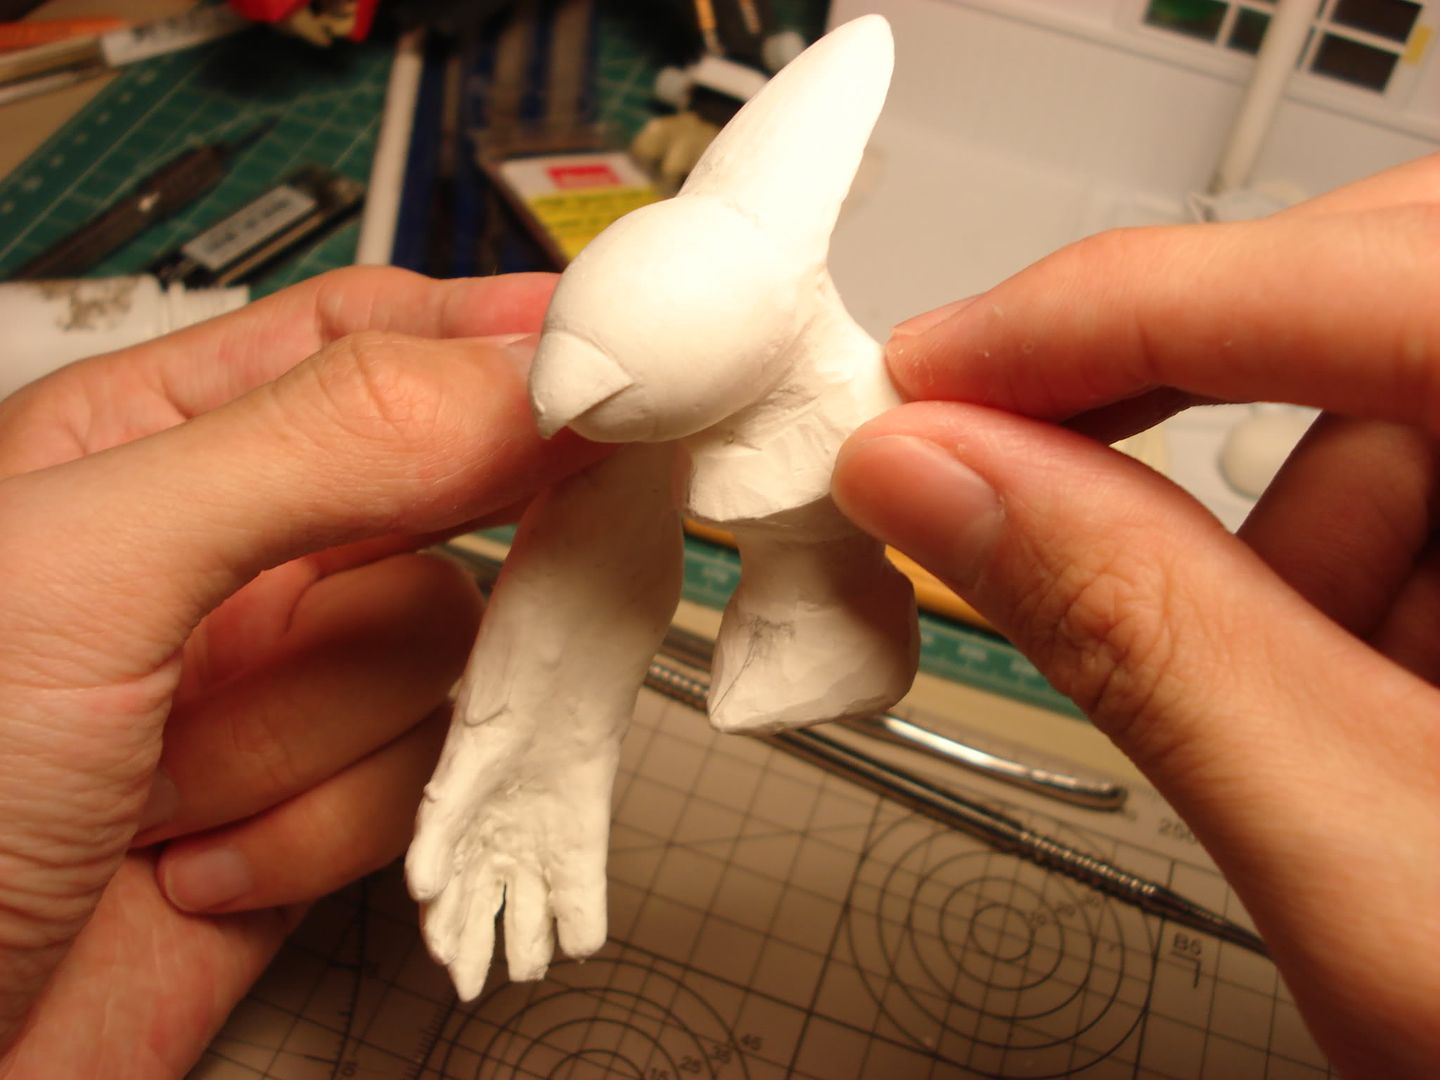
And here is a test fit (also did some reshape to the body, pics later):

Photobucket

Now I need to figure out which way works best to connect the arms to the body...

For my next project, I will try to write a full self armature build since is hard for me to find a good DIY armature build for figure sculptures.

Edit:

and this is why I like gundam 00....

Wednesday, January 14, 2009

Project Xamdou Update #1

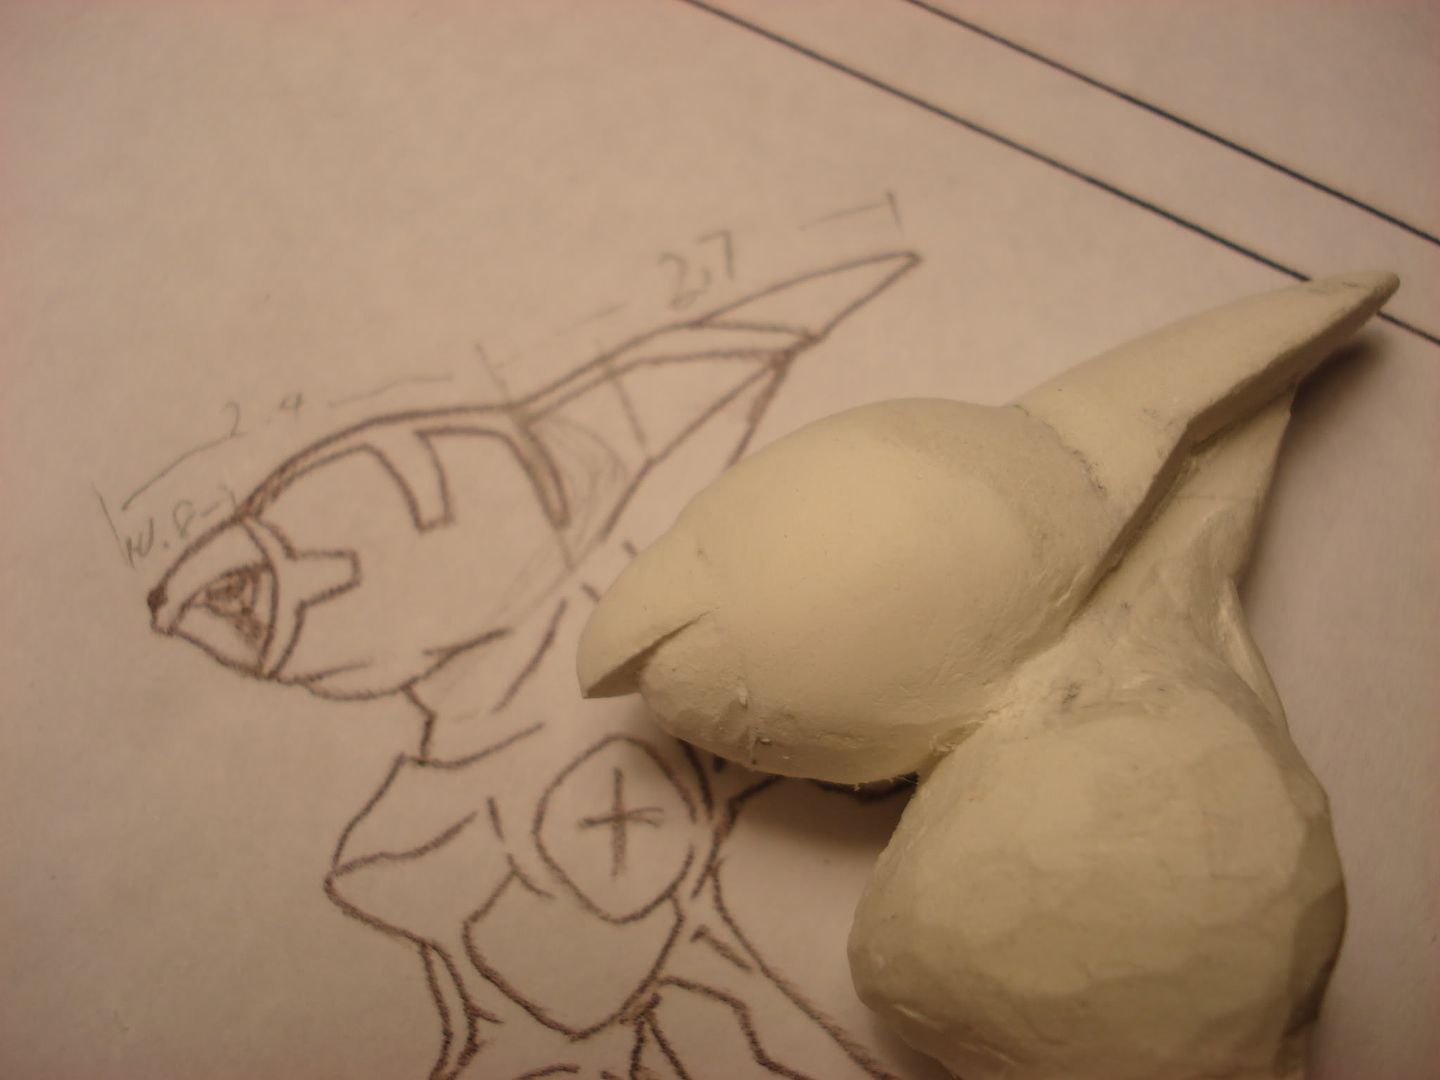
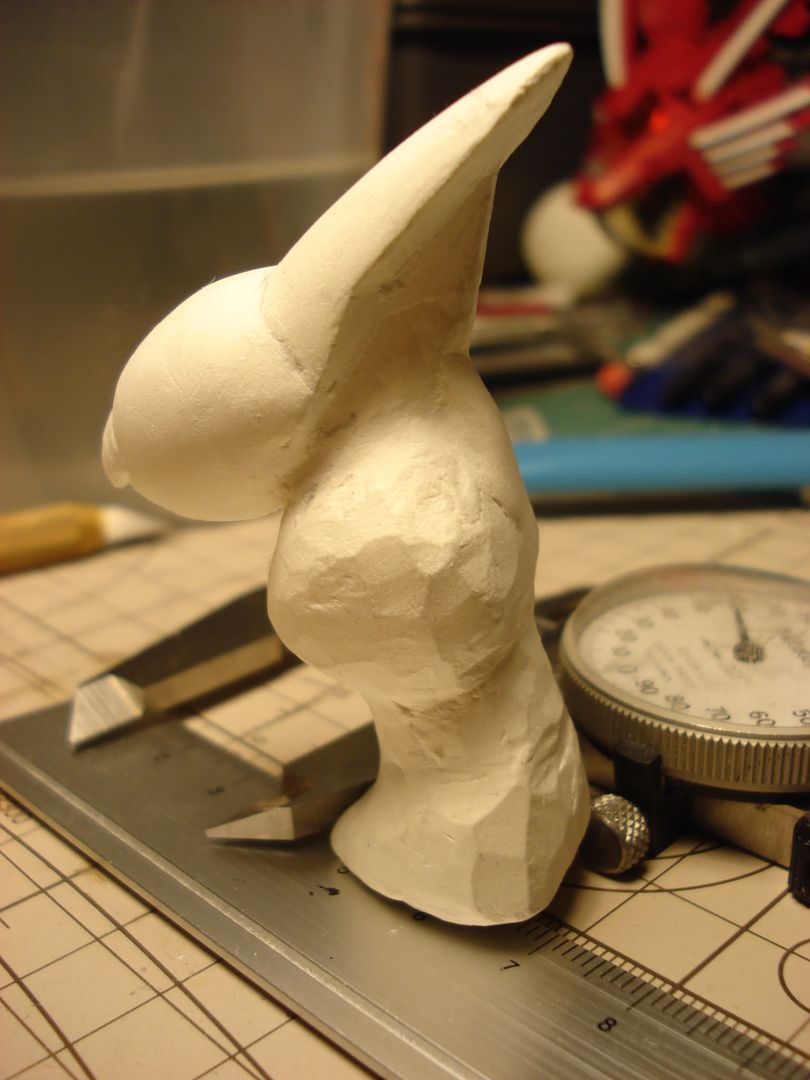
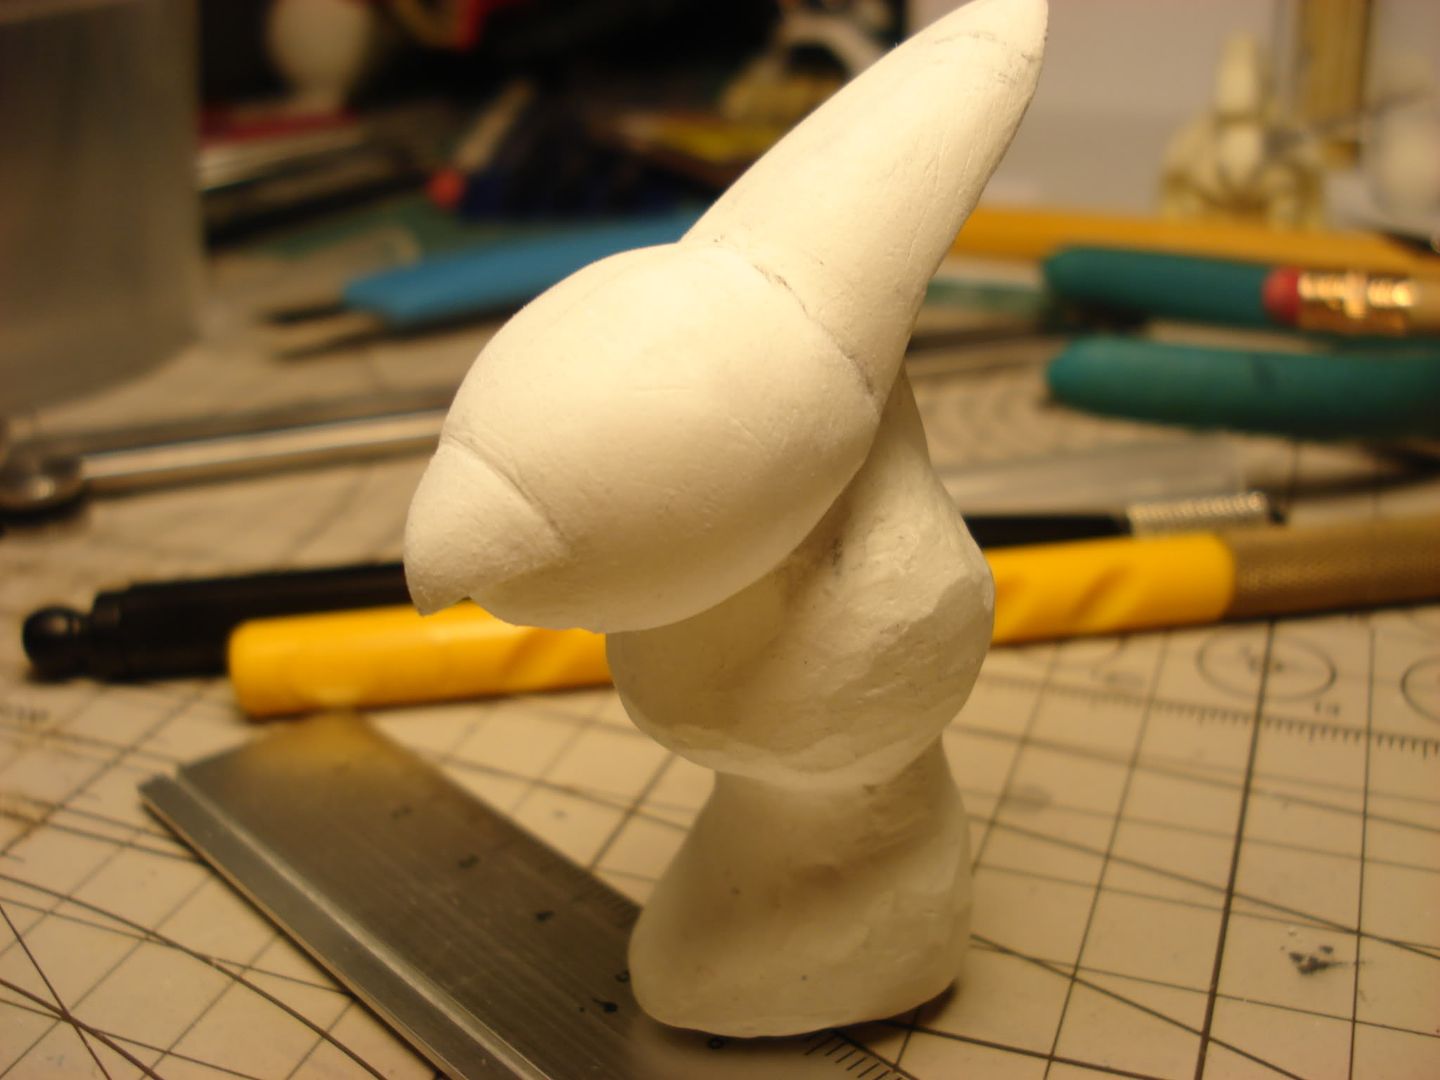
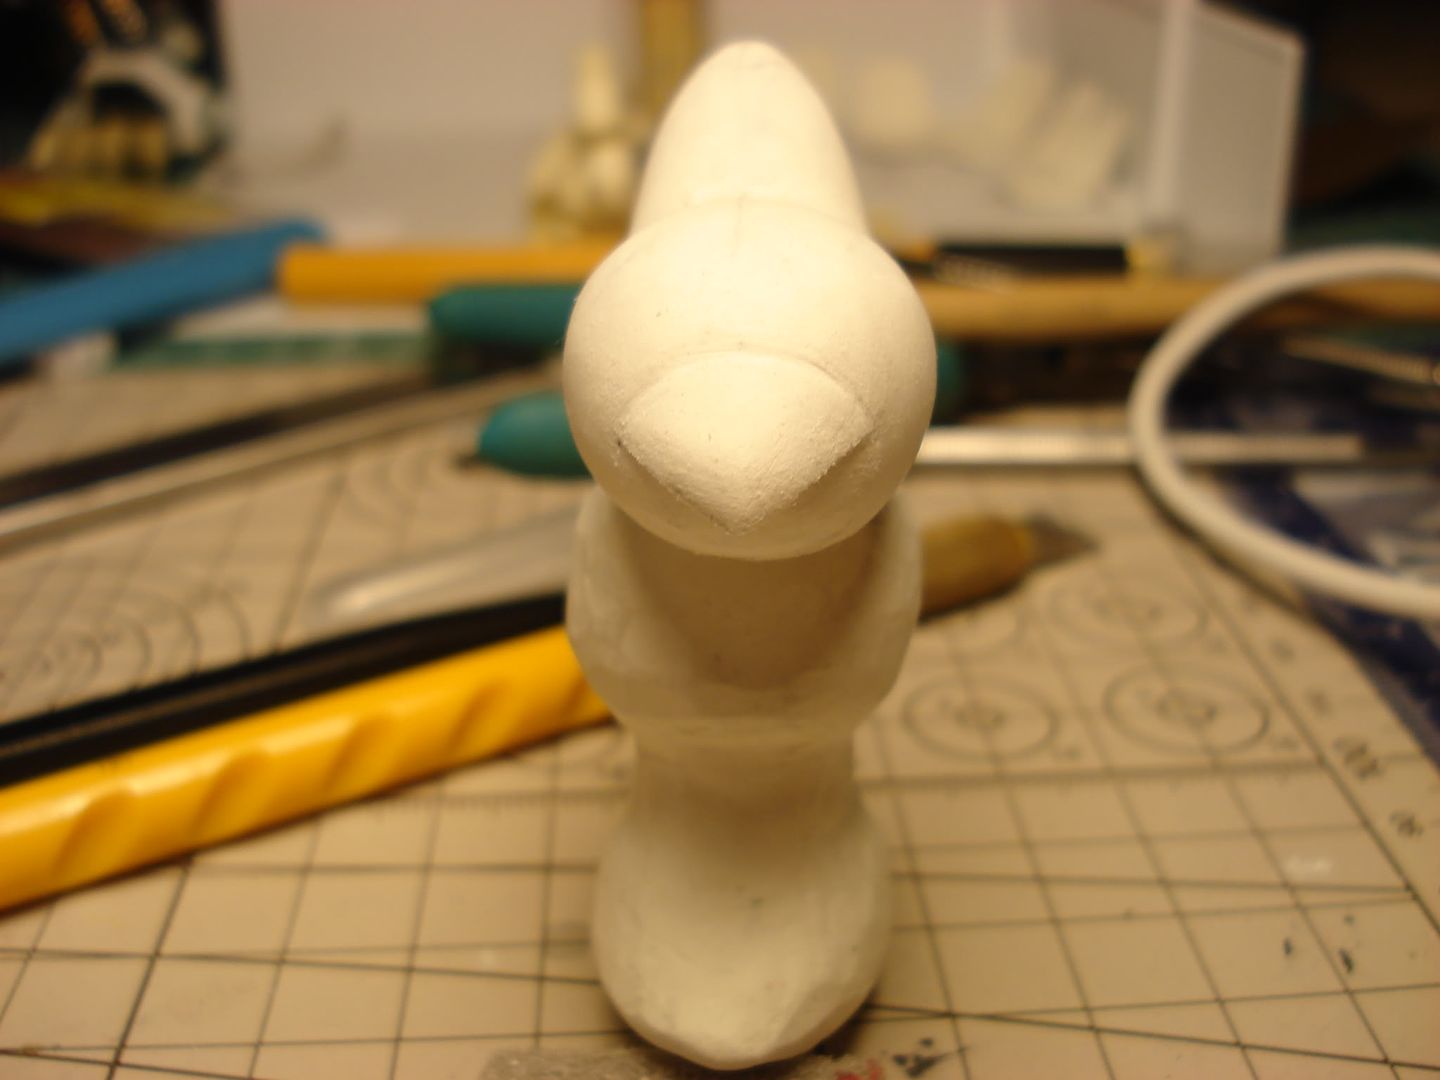
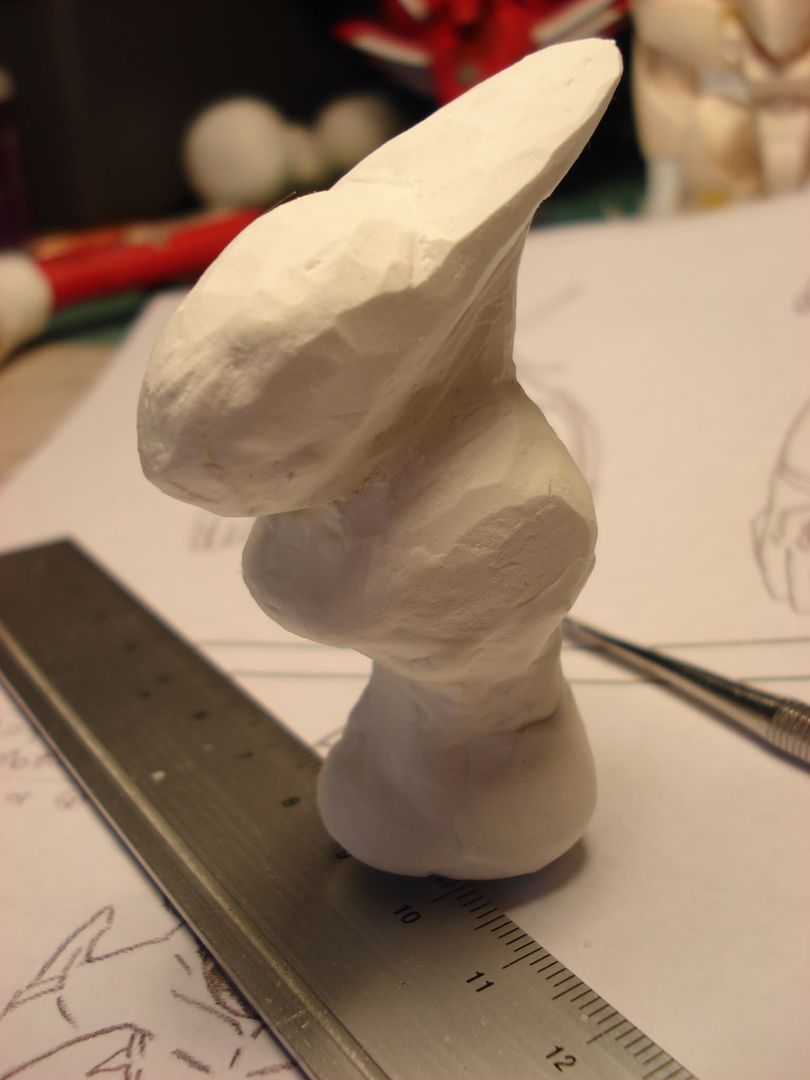
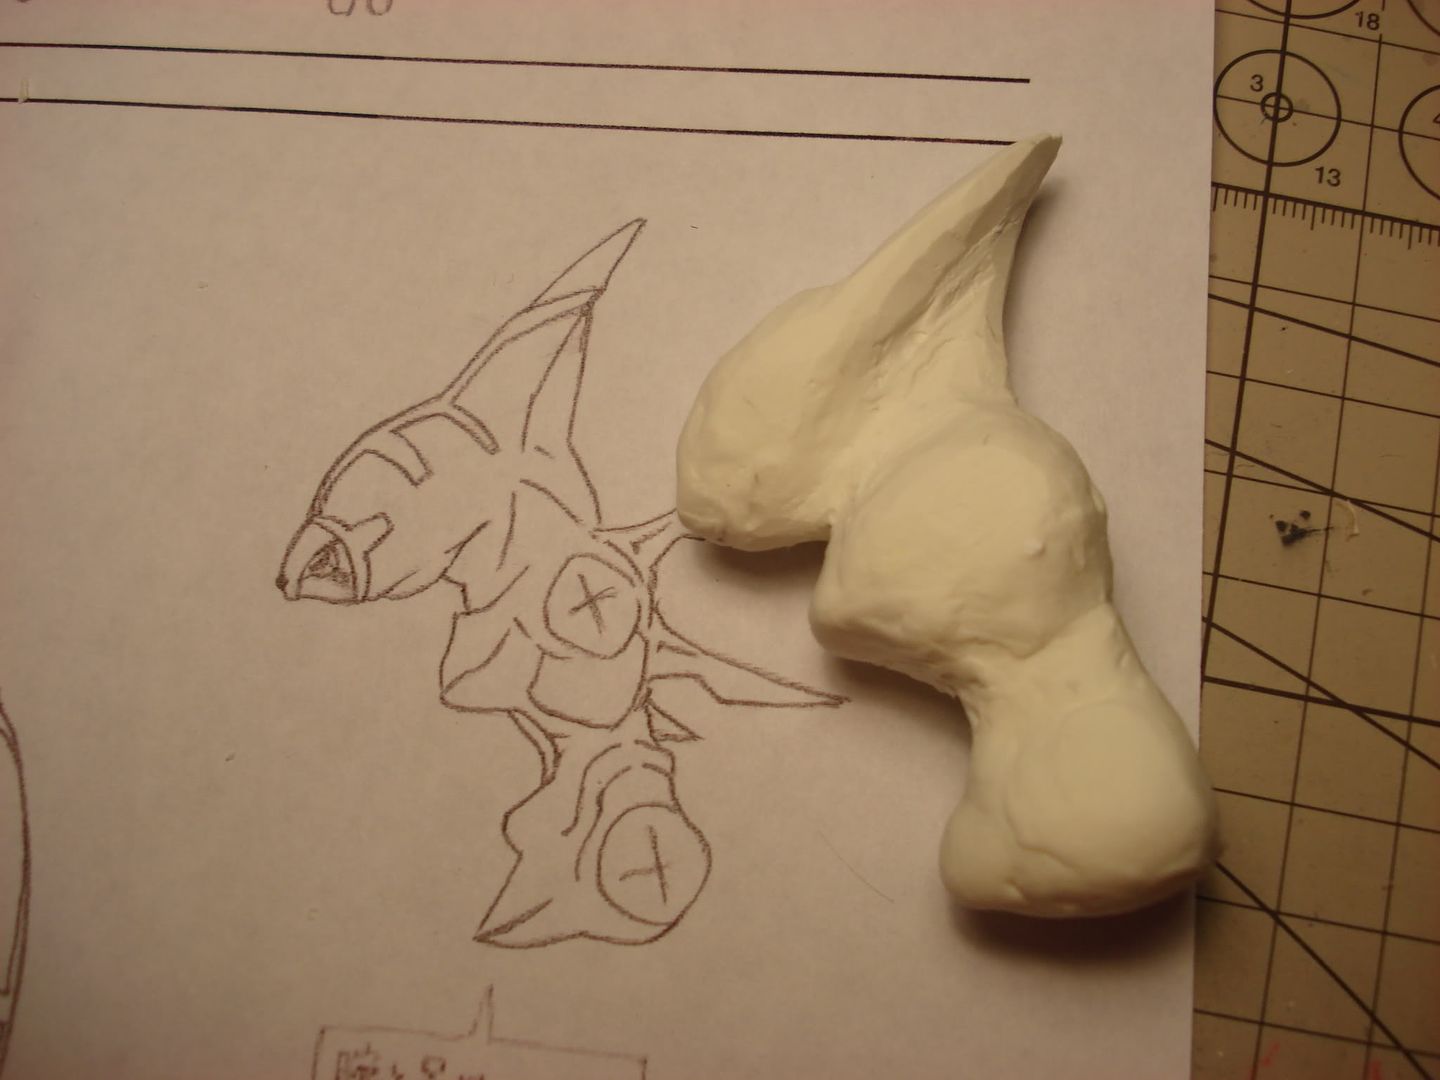
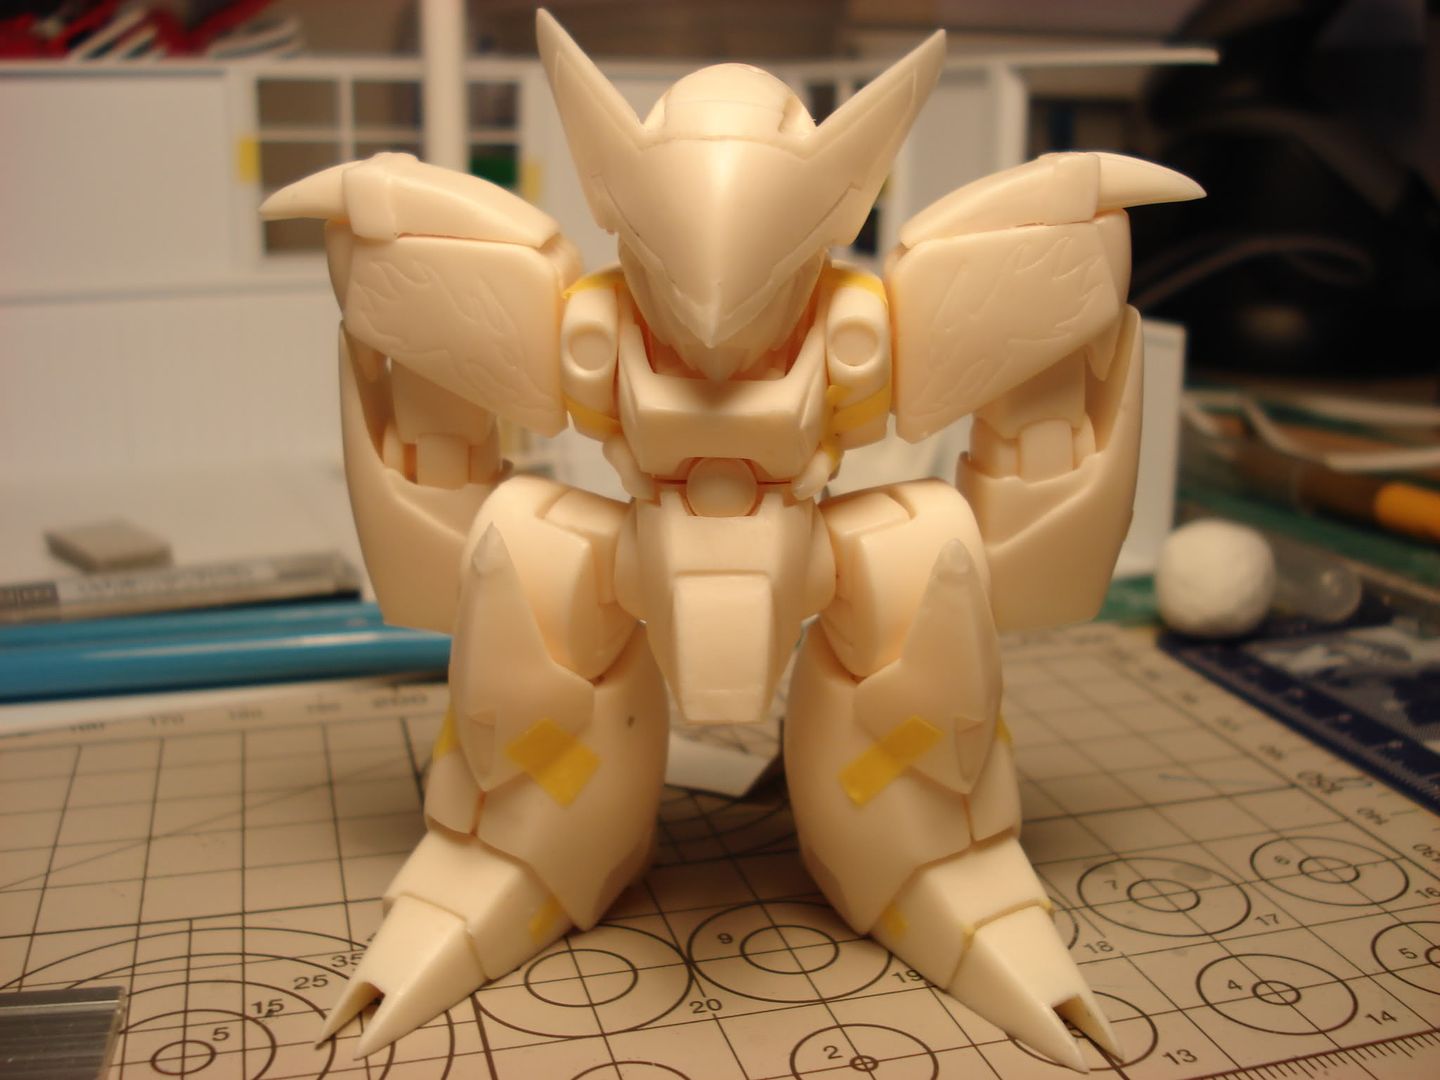
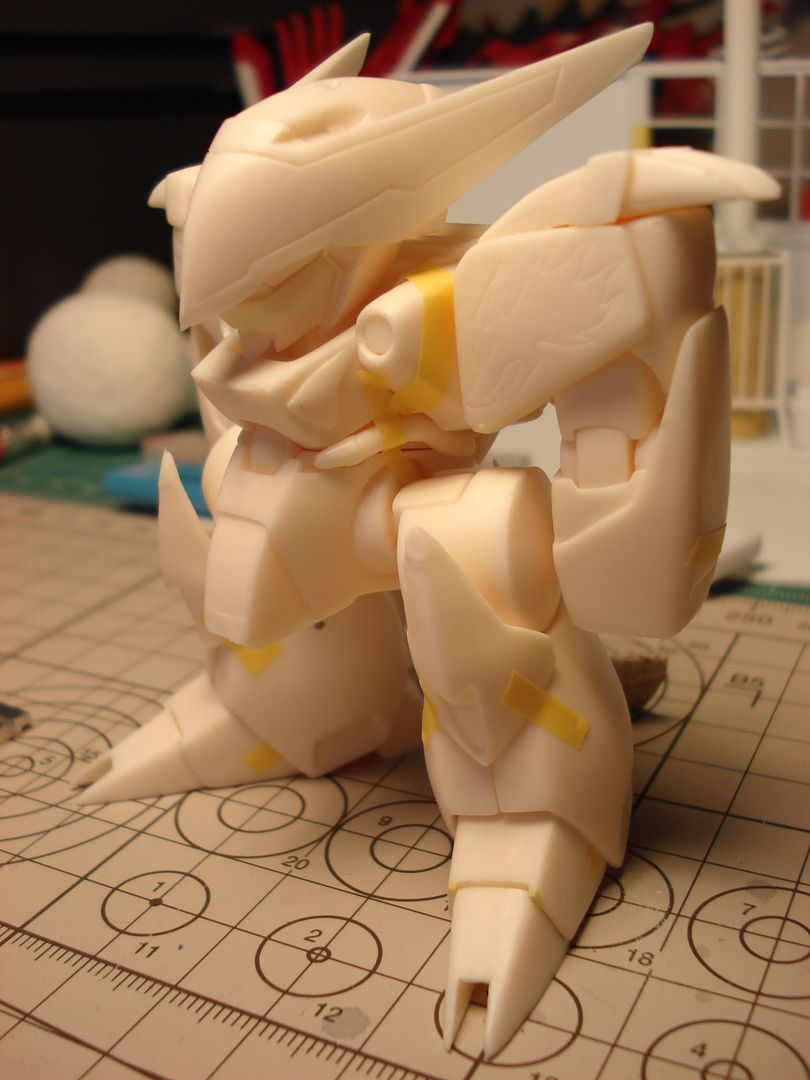
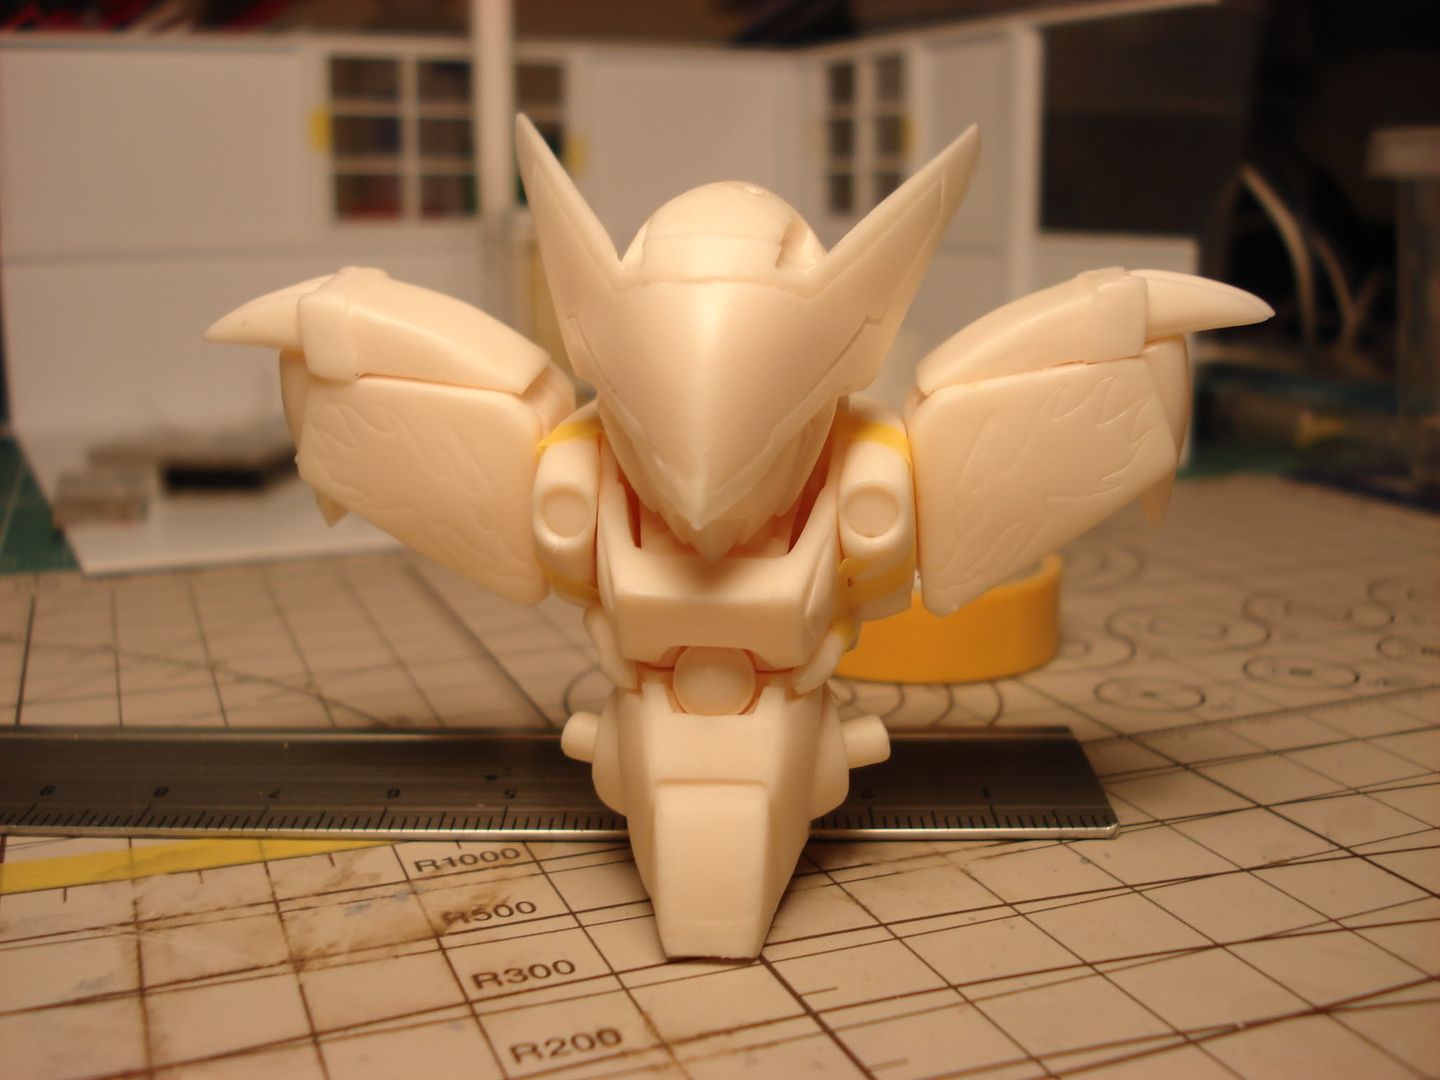
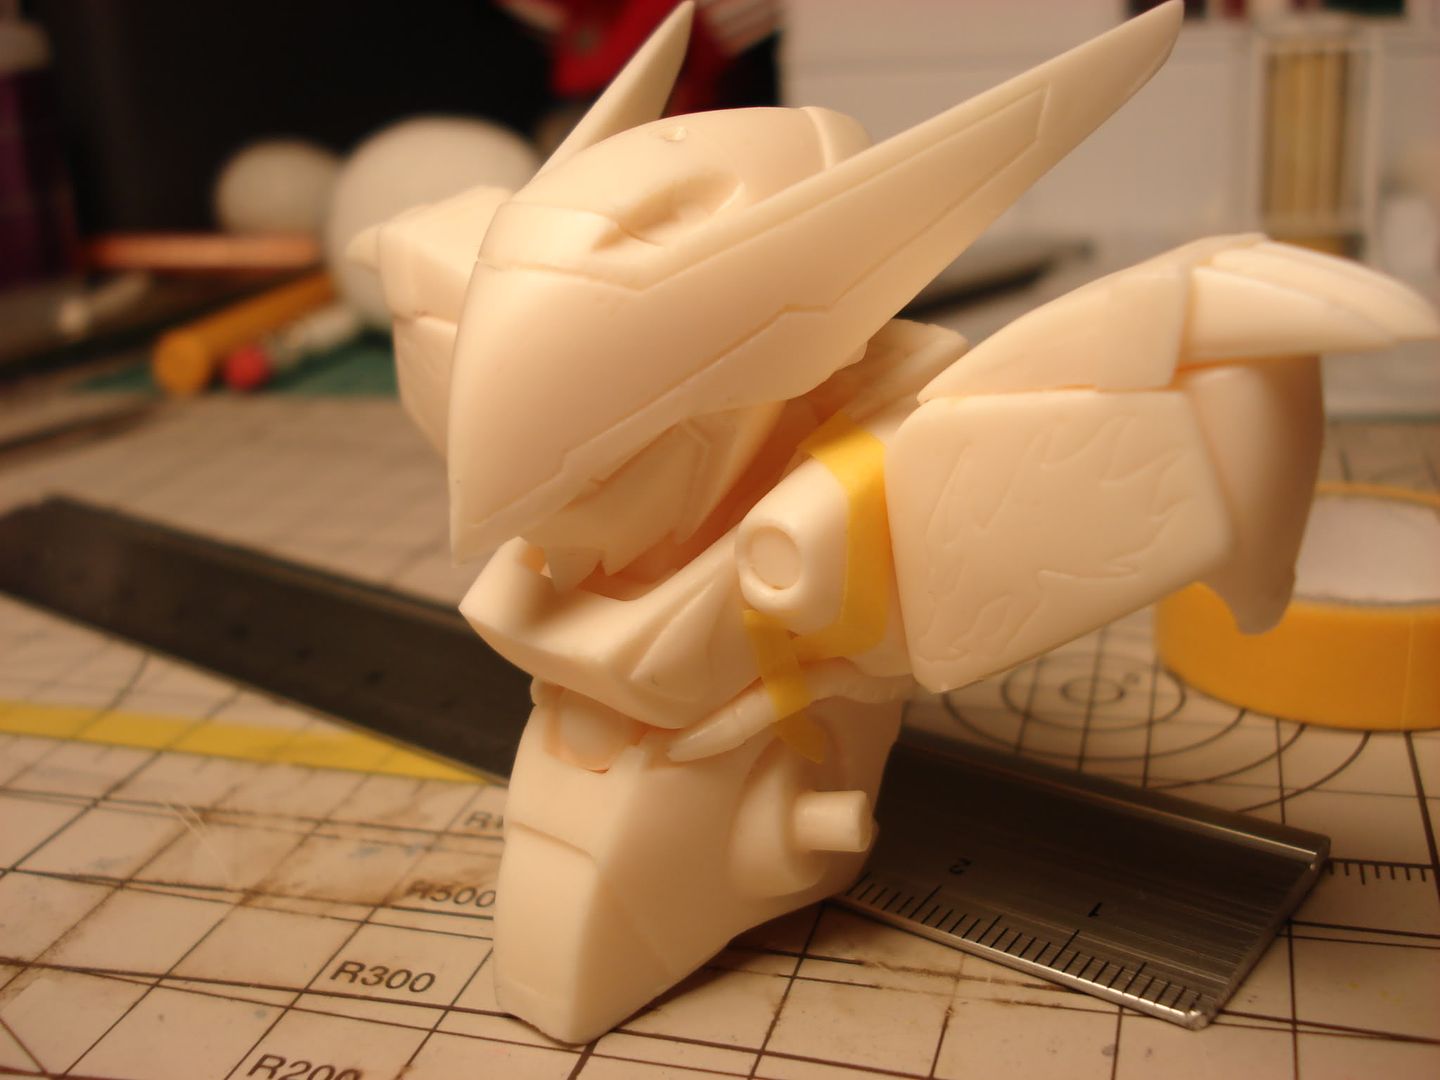
This project turned to be alot more tougher than I thought, mainly because is the design/structure of the model, but a really good test for me to see how far I have got from my first one =D. So here is the progress for the body, got the shape out for the head:


Photobucket

Photobucket

Photobucket

Photobucket


That's it for now, stay tuned!

Sunday, January 11, 2009

Project Xamdou

Since my sculpting class won't start until Friday, it will be a waste of time not doing any sculpting/modeling work until then.

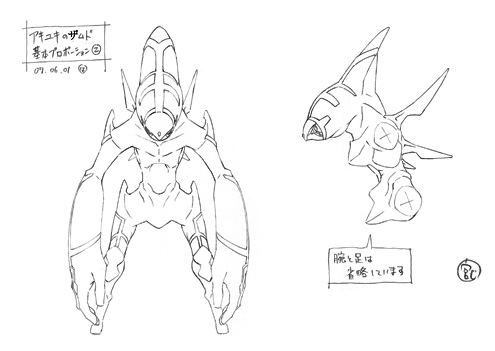
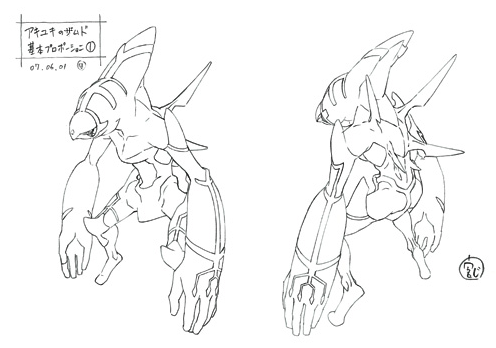
Here are the reference pictures from their official website:

Photobucket

Photobucket

and here are some progress:

Photobucket

Photobucket


Oh... here is the PV of Xam'd from youtube:


Hopefully once this one is complete, I can move on to super scupley clay... That's it for now, stay tuned!

Wednesday, January 7, 2009

Ryuo-maru Test Fit part 2

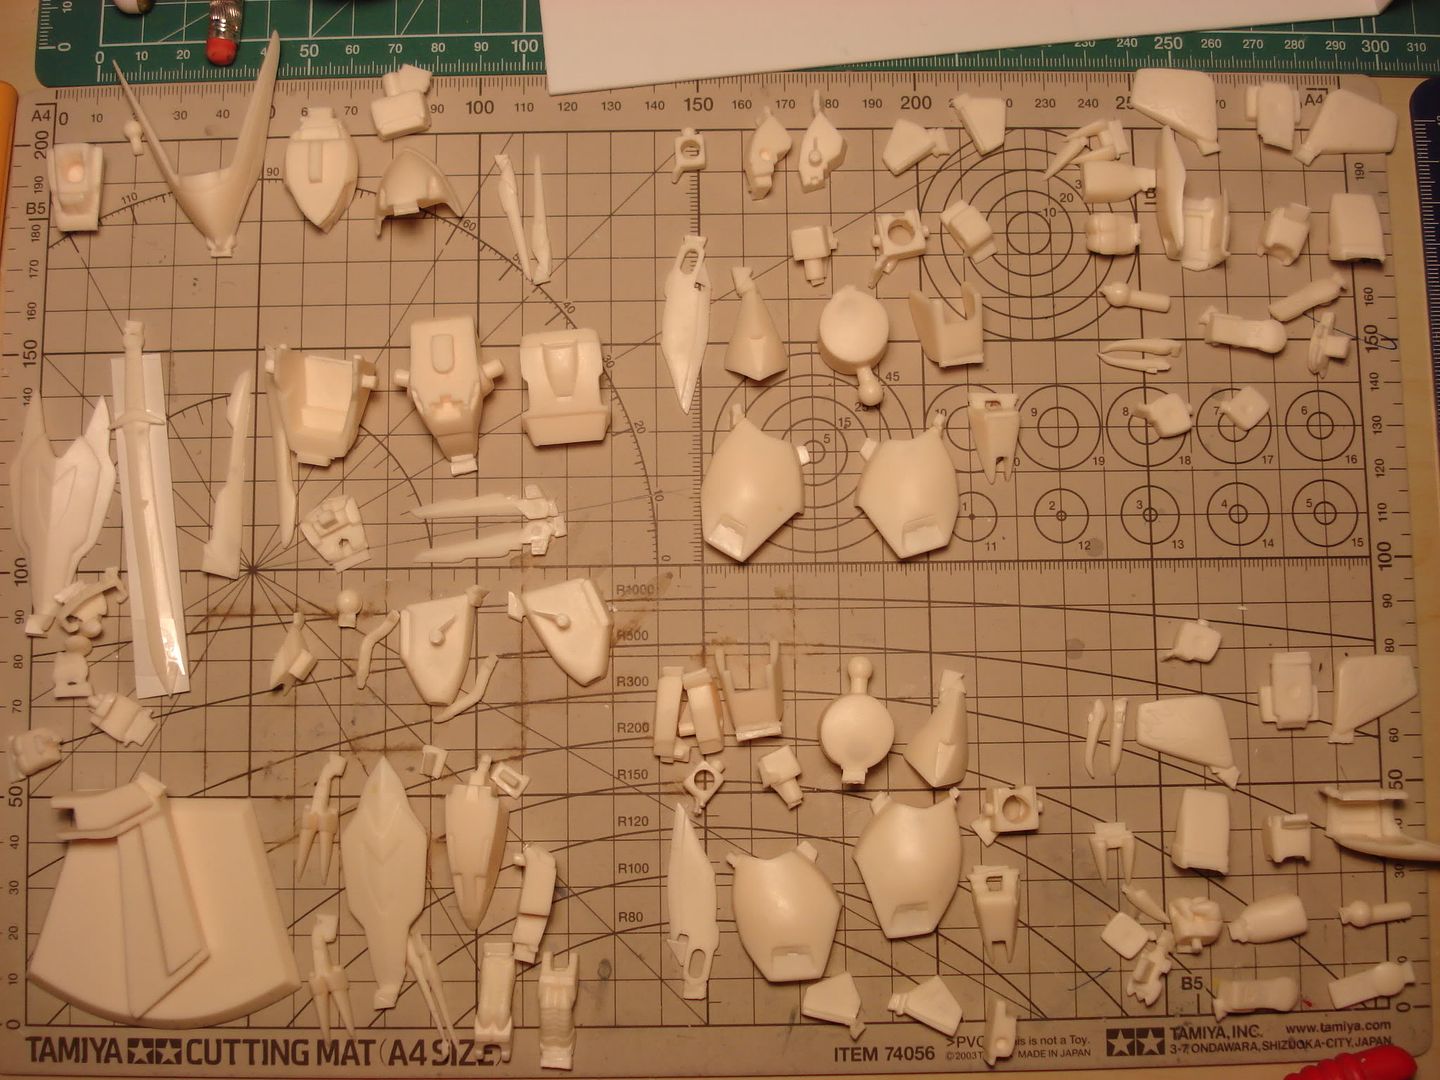
Spent past two days to finish up most of the assembly work for Ryuo-maru, have to say that this cast is not great at all, same old problem as I mentioned in the previous post.

Anyway, here is the complete pic:

Photobucket

Photobucket

Photobucket

Due the quality of this kit, me thinking of resculpting this one and use the current kit as a reference. A good practice to me to see how far I have come =P.

Side note: Will be taking sculpting class starting next week, can't wait!

Sunday, January 4, 2009

Ryuo-maru Test Fit part 1

This kit didn't turn out to be what I was expected. Maybe the main reason is the fact that the kit I got is a recast one of the original kit. Spent two days on cleaning and assembling the body, and here is the progress:

Photobucket

Photobucket

Is almost impossible for me to assemble the arms and legs without major work on it, guess this one is going to take a while.

While assembling Ryuo-maru, watching this makes feel like a 8 or 9 year old kid....


Oh.. and for those who doesn't know where Ryuo-maru comes from, here it is:


Note: set design project is been put it on hold until I can get my hands on casting materials and set up my spray area.

Friday, January 2, 2009

New Year's First Mail Delivery

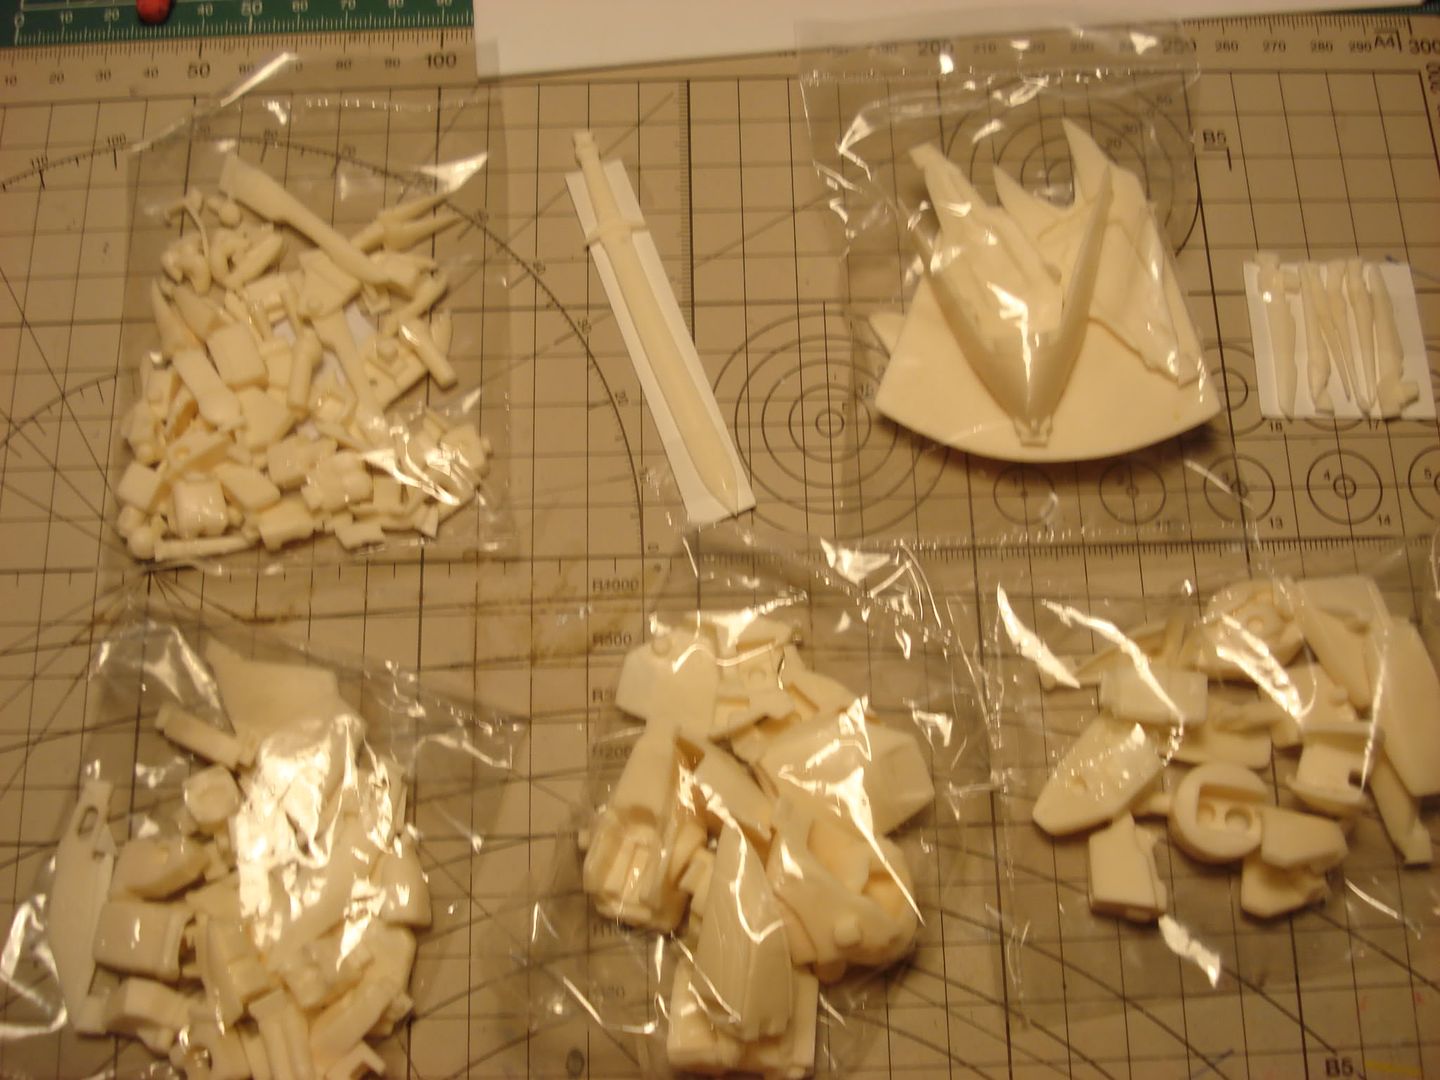
This thing arrived in mail today:

Photobucket

Photobucket

Photobucket

Always wanted to get a hold of Ryuo-maru model since I was 9, now finally got my hands on it~!

Test fit pics coming soon, missing two parts.

Thursday, January 1, 2009

New Year's First Post

First of all, happy new year everybody!


Finally got my camera back, couldn't update the banner with a decent picture until now. Well, better late than never!

From someone who lost his directions, to discovering the true passion in his life, 2008 has been a long year for me.

Thank you for all the people who walked me through all the difficult times I had in 2008. I can't thank you guys enough! <3

Wish the best to everybody in 2009, the year filled with opportunities, love, and... cows!


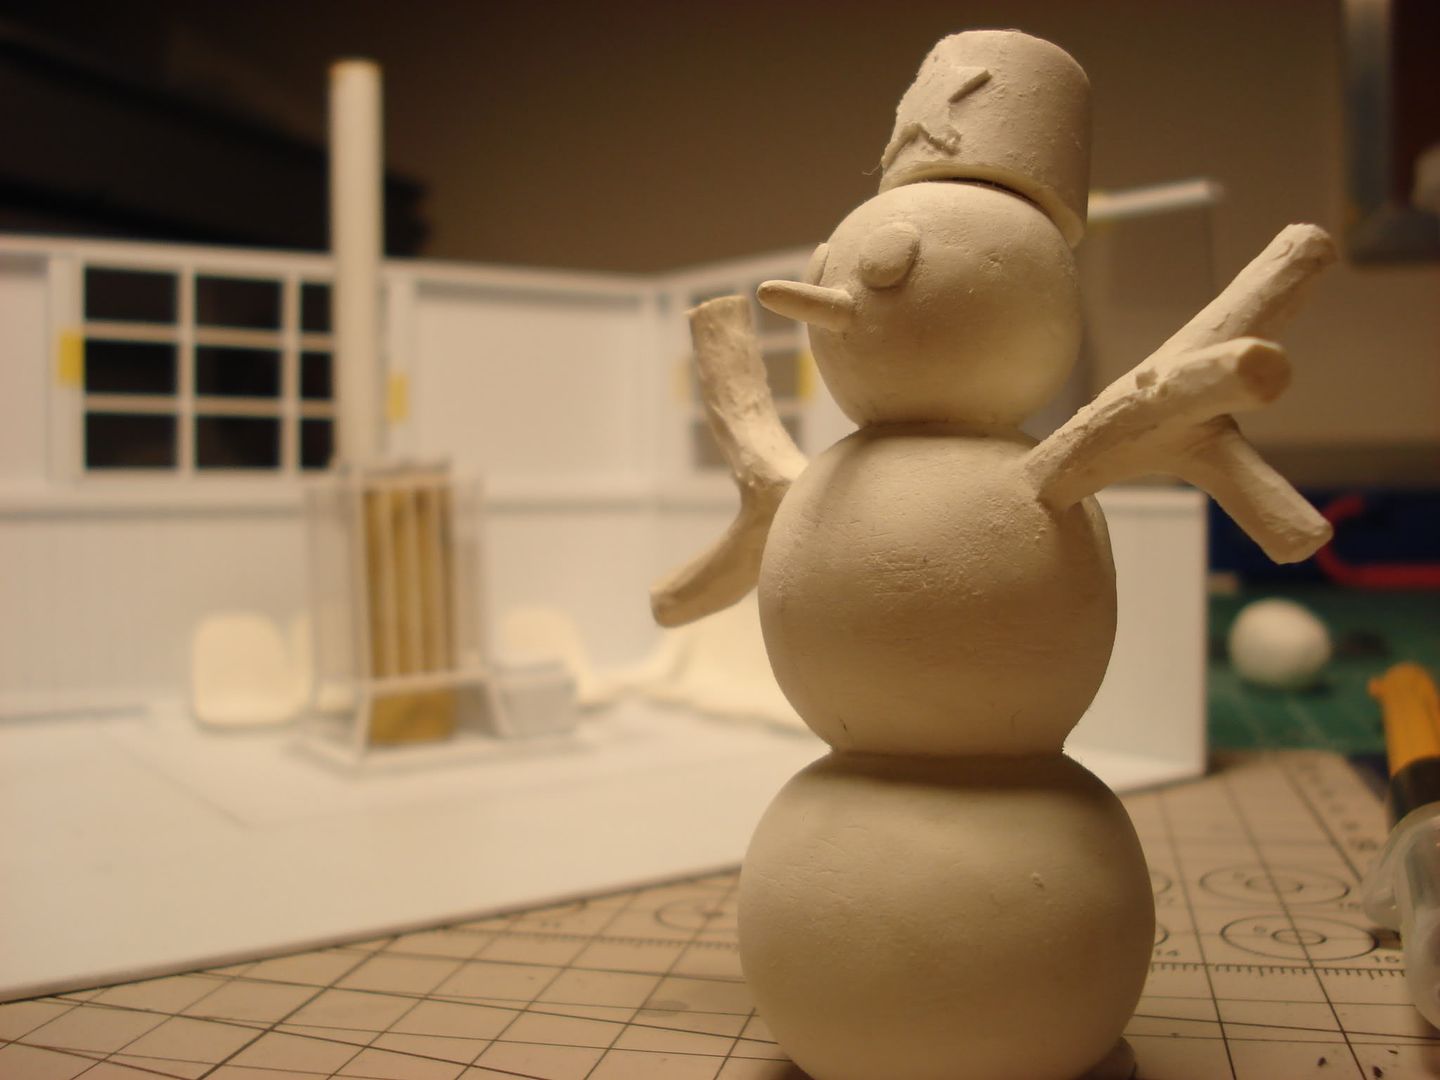
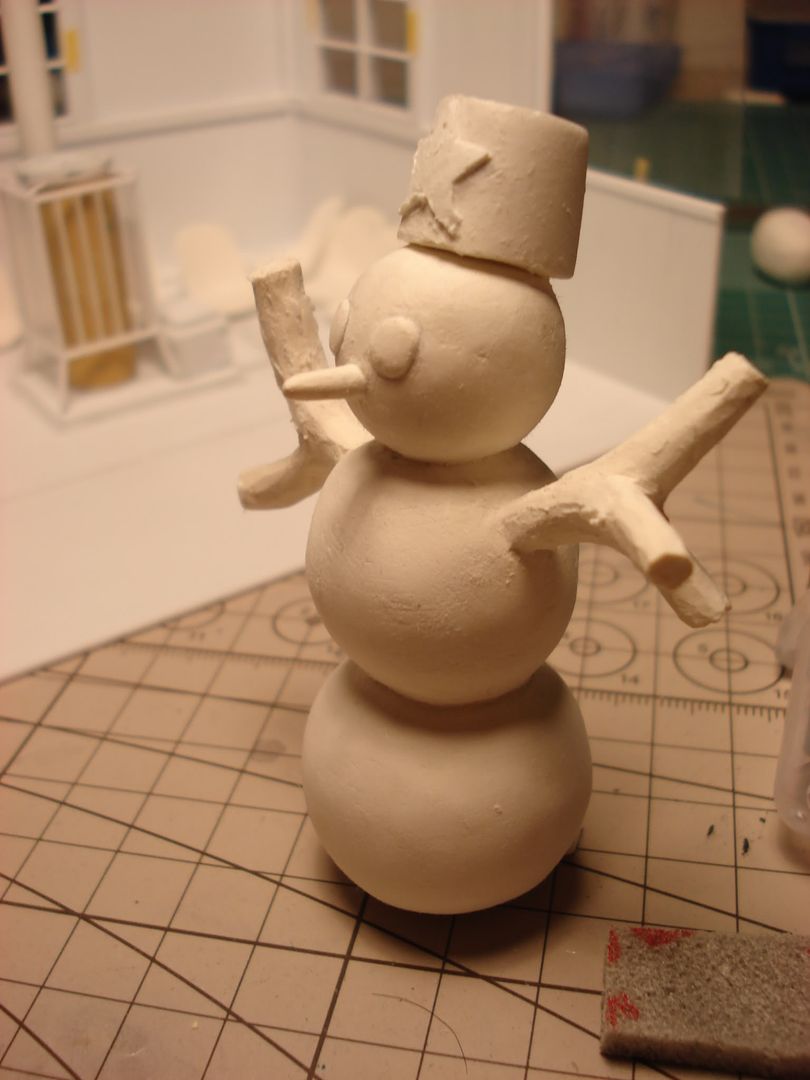
Oh.. and the snow man:

Photobucket

Photobucket

And tool of the day:
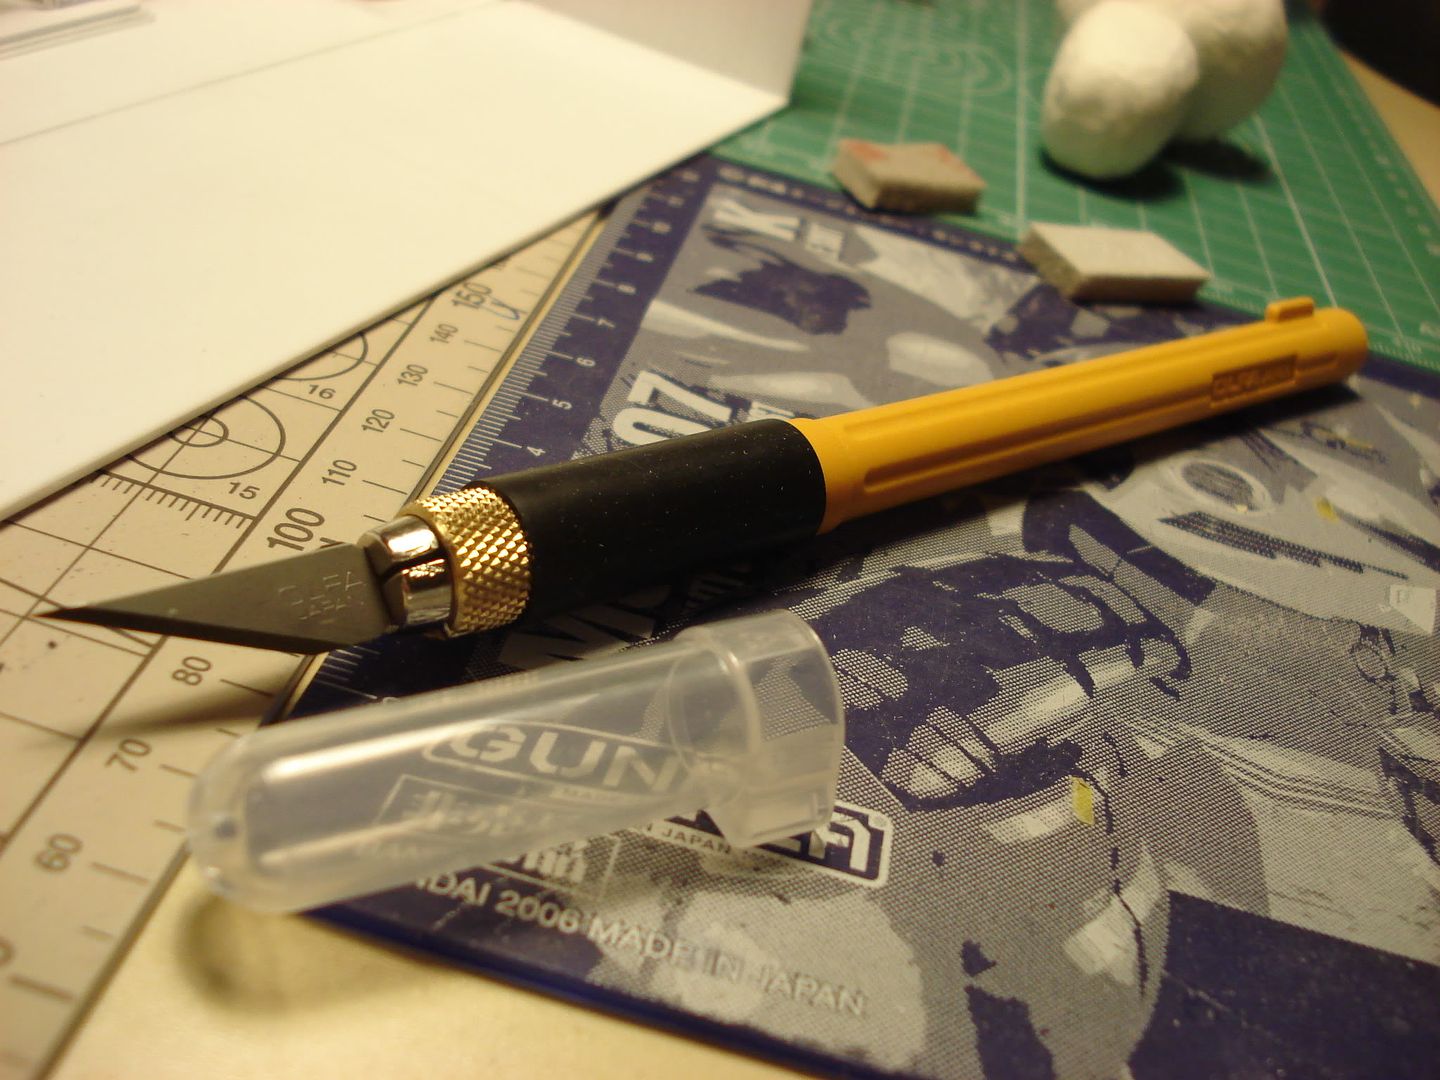
Upgraded my hobby knife, OLFA AK-4, it has great handing, and can use multiple type of blades on it, but it is not recommended for beginners~! XD

Photobucket

Edit: fixed the music player, now using imeem.